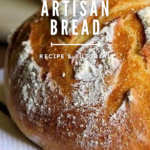
Whether you’re a seasoned bread enthusiast or new to homemade loaves, this crusty artisan bread recipe is a must-try. It welcomes beginners with open arms, requiring only four simple ingredients and no fancy equipment or techniques.

Note: Thanks to the Amazon Associates Program and other affiliate programs, I receive compensation for the products sold through the affiliate links in this post at no cost to the buyer.
There is no need to worry about kneading or intricate shaping—this recipe keeps things beautifully uncomplicated. You’ll be pleased to know that most of the work is hands-off, allowing you to sit back and enjoy the process.
No-knead artisan bread, a recipe to love

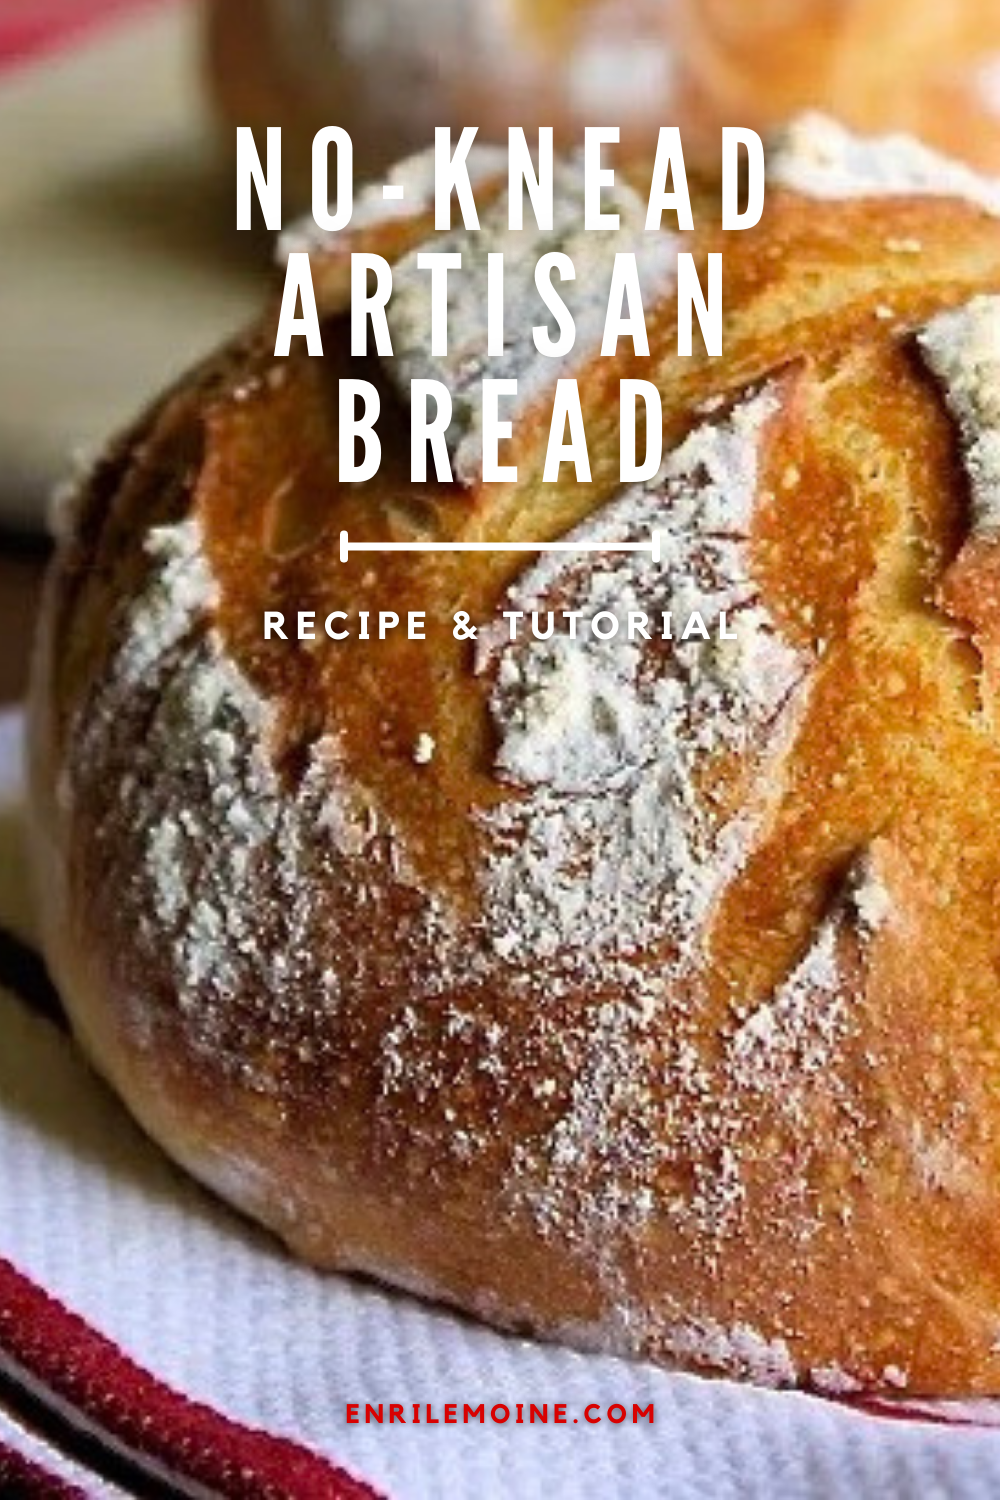
Even bread masters will find joy in this recipe. It boasts the delightful and authentic flavor of artisan bread. It yields a golden brown crispy crust. And when you slice it, you’ll discover those coveted soft holes and an incredibly chewy crumb inside.
This bread brings memories of my beloved pan gallego (Galician bread), the most delicious crusty bread I’ve ever had. It’s comparable to the best artisan bread in French boulangeries or those Italian bakeries in San Francisco.
My pan campesino love story

When I moved from my home country Venezuela to Southern California, bread, artisan bread, the one we call pan campesino (peasant bread), was one of the things I missed the most. In Caracas, where I was born and raised, we were used to having the best bread makers and bakeries.
Back then, it was customary to buy fresh pan francés and baguettes daily. The bakeries, mostly controlled by Portuguese breadmakers, were always within walking distance from home. The person buying the bread was also entitled to start eating the most delicious crusty piece of warm bread on his or her way home.

All my yearning ended when I discovered La Brea Bakery. They bake artisan bread in the shape of baguettes, sourdough loaves, plus rosemary and garlic, cranberry and walnuts, and whatever Mediterranean flavors you can imagine. We used to buy it fresh and warm from Costco. The quality of this bread is extraordinary.
A few days ago, I found The Italian Dish. And this was another turning point. Elaine, the author, doesn’t know yet, but she’s my twin cooking soulmate. Digging and diving into her blog, I found an easy bread recipe, no kneading required! And I haven’t stopped baking it since.
Do I need bread flour to make this rustic bread?

The answer to this question is yes and no. When I started making this bread, I used to make it, with good results, with unbleached all-purpose flour. This means, technically, you don’t need bread flour to make this bread.
However, I’ve found that the best way to achieve the best results is to combine three parts of unbleached all-purpose flour and three and a half parts of bread flour. The increased protein (gluten) content in bread flour improves texture and flavor.
Do I need a Dutch oven to bake this bread?

Baking bread in a preheated Dutch oven is highly recommended for several reasons. It provides excellent heat retention and distribution and a sealed environment that traps steam during baking. And this is crucial for achieving a beautifully crisp and golden brown crust on the bread.
However, I don’t bake this bread in a hot Dutch oven but in a pizza stone, a baking stone. This ceramic surface helps distribute the heat and create a crusty bottom. To create a steamy environment, which is pivotal to having a crispy crust, you place your loaf of bread in the oven, then put a baking sheet in the bottom rack and carefully add a cup of water.
10 tips to make the perfect no-knead artisan bread

Making this bread requires time and planning, but the process is effortless and mess-free. The reward is to enjoy fresh bread anytime. Once you bake your own bread, something changes. It’s like magic, trust me.
Following are my tips to make homemade artisan bread successfully since the first time:

- Check the water temperature before adding it to the dry ingredients. If it’s too hot, it can harm the yeast. If it’s too cold, it won’t activate properly. Look for warm water.
- Check if your active dry, rapid-rise, or instant yeast is active. To do that, put lukewarm water in a small bowl, sprinkle some yeast, and wait about 10 minutes. If it starts foaming, your yeast is active. If not, you better run to the store and buy a new one.
- No matter what type of flour you use, carefully measure it. You should use 6 1/2 cups of flour in total, not more. Don’t worry if the amount of flour seems insufficient. Once formed, the dough should be wet, sticky, and loose. So please don’t add more flour. Too much flour will result in a very common mistake: a too-dense crumb.
- Combine all the ingredients: water, flour, active dry yeast, and sea salt in the bowl of a stand mixer. Yes, you don’t need to make a yeast mixture. The magic of this dough is that it requires minimal effort.
- Let the standing mixer do the kneading. If you don’t have a standing mixer, add all the ingredients in a large mixing bowl and combine them with a Danish dough whisk. If you don’t have a Danish whisk, use a rubber spatula or a wooden spoon.
- Place the mixture in a big bowl and let the dough rise for two hours. As it ferments, the dough should almost triple in size, so ensure you have enough room to expand.
- Consider refrigerating the dough overnight for a more robust and flavorful loaf. That extra time will allow the flavors to develop and deepen, resulting in even more delicious bread. This bread tastes better when you bake it after having the dough in the fridge for a few days.
- Embrace the rustic charm of artisan bread, and don’t fret over achieving a perfectly round shape. The beauty of this style lies in its imperfections, so forget about the perfect dough ball. Those uneven bits contribute to delightful crispy ridges.
- Add a sprinkle of cornmeal to the parchment paper where the bread will rise. This introduces a delightful burst of flavor and lends a subtle crunch to the bottom crust.
- When it is time to bake, place the parchment paper with the loaf on top of the pizza stone in the oven.

With these tried-and-true tips, you’ll discover that baking bread doesn’t have to be intimidating. The recipe I’m sharing practically comes together by itself, making it ideal for beginners and seasoned bakers.
Not-to-be-missed: My other bread recipes
If you love baking bread, please check these other yummy recipes:
- Venezuelan Pan de Jamón
- No-knead artisan cranberry walnut bread
- Venezuelan French-style bread
- No-fail sourdough starter from scratch
No-knead homemade artisan bread recipe
The following is the no-knead artisan bread recipe card. I hope you like it as much as we do.
Thanks for subscribing to my YouTube channel and shopping at my Amazon shop.

No-knead Artisan Bread
Ingredients
- 3 cups lukewarm water
- 1 ½ tablespoons granulated yeast fast acting
- 1 ¼ tablespoons coarse sea salt
- 3 ½ cups bread flour
- 3 cups unbleached all-purpose flour
- Cornmeal
Instructions
- Add the water, yeast and salt to the bowl of a standing electric mixer.
- Add both flours and mix with the dough mixing blade, until a wet loose dough in formed.
- Put the dough in a bowl, big enough, so the dough can rise (it will almost triple in size.)
- Cover it with plastic wrap, leaving a little hole so the dough can breath and the gases escape.
- Let the dough rest for 2 hours at room temperature. This is what we call the first rise.
- If you don’t plan to bake it, save it covered, not airtight, in the refrigerator. This dough will last up to two weeks.
- For best results, preheat a pizza stone at 450F, for at least 30 minutes, in the middle rack of the oven,
- In the mean time, line a baking sheet with a piece of parchment paper.
- Sprinkle the parchment paper with cornmeal.
- Sprinkle some flour in your hands to manipulate the sticky dough. Take some of the dough and shape your loaf. Place the loaves of bread in the baking sheet and let them rise for about 30 minutes.
- Dust the top of the dough with flour and slash it with a sharp knife. The slashes can be parallel, cross or tic-tac toe pattern.
- Carefully place the parchment paper with the loaf in the hot pizza stone.
- Place a baking sheet in the lower rack of the oven. Carefully pour 1 cup of water in the baking sheet.
- Bake for 25-30 minutes.
- Take the loaves out of the oven and let them cool down on a wire rack.
Nutrition
Did you make this recipe?
Tag @enrilemoine on Instagram and hashtag it #byenrilemoine. Thank you!
SaveSave
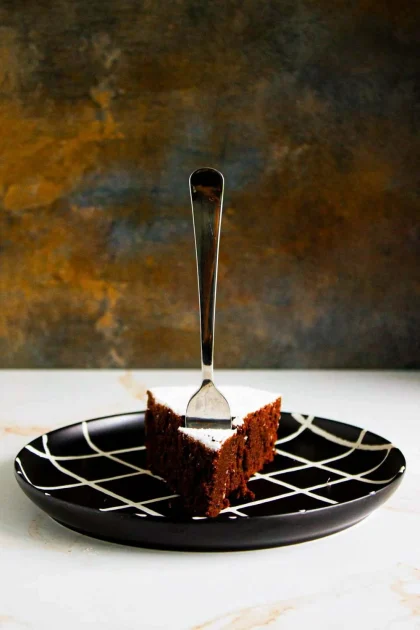
- Classic Torta Caprese Recipe: Dense, Fudgy, and Gluten-Free - June 14, 2026
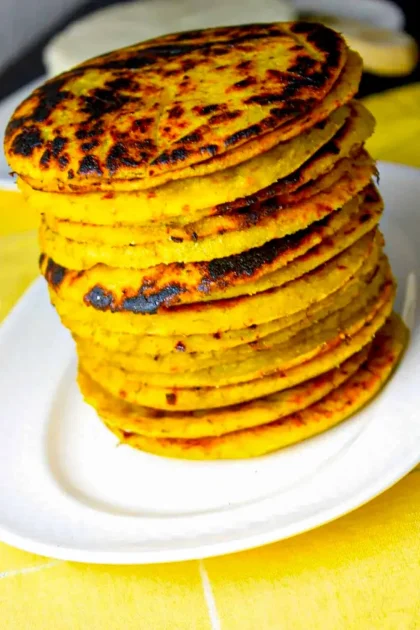
- Venezuelan Plantain Arepas with White Cheese Recipe - June 10, 2026
- Venezuelan Plantain Cups with Mango Ceviche Recipe - June 10, 2026