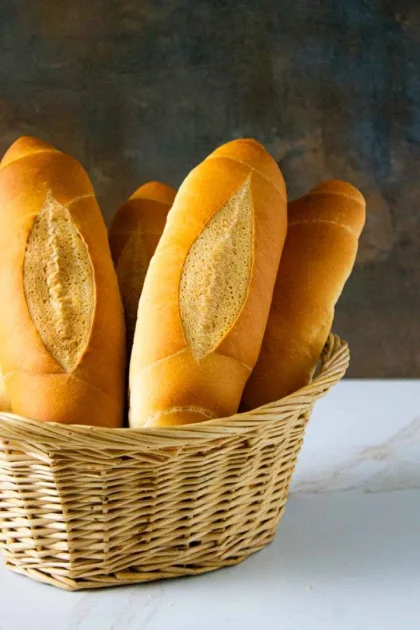
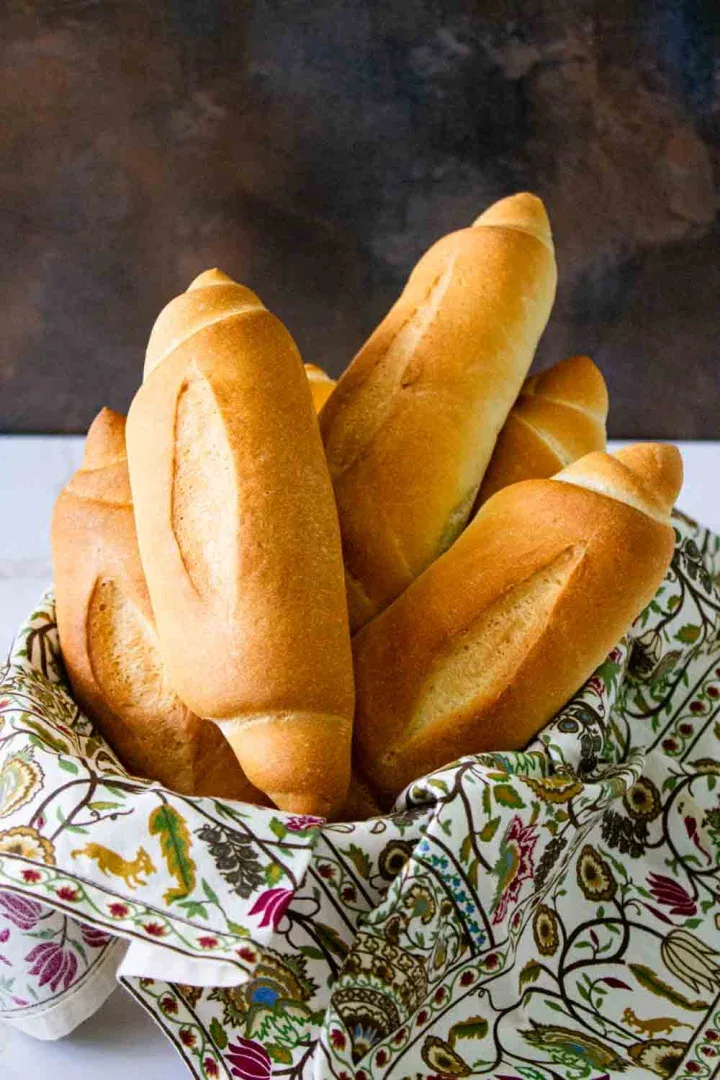
Pan francés (French bread) is the everyday bakery bread that defines our Venezuelan cuisine: soft crumb, thin crust, and that aroma that brings you back home. Here’s a clear step-by-step guide with tricks to achieve results identical to Venezuelan bakery rolls, even if it’s your first time making bread!

When I first started experimenting with the perfect recipe I found in Panes Venezolanos, at the first bite I said to myself: this tastes like a Caracas bakery, this is the perfect bakery pan francés.
For a moment, I felt like time hadn’t passed and I was once again enjoying that delicious bread that the Portuguese bakers who emigrated to Venezuela in the 20th century taught us to eat.
I would like to take this opportunity to acknowledge the valuable work that Alexander Ramírez and Jesús Méndez are doing, who, from panesvenezolanos.com, have dedicated themselves to preserving and spreading our baking traditions.
As a member of the Amazon Affiliate Program and other affiliate programs, I receive compensation for products sold through the affiliate links in this post at no cost to the buyer.
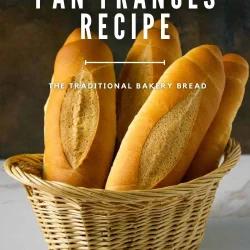
A Venezuelan Bread with a French Surname
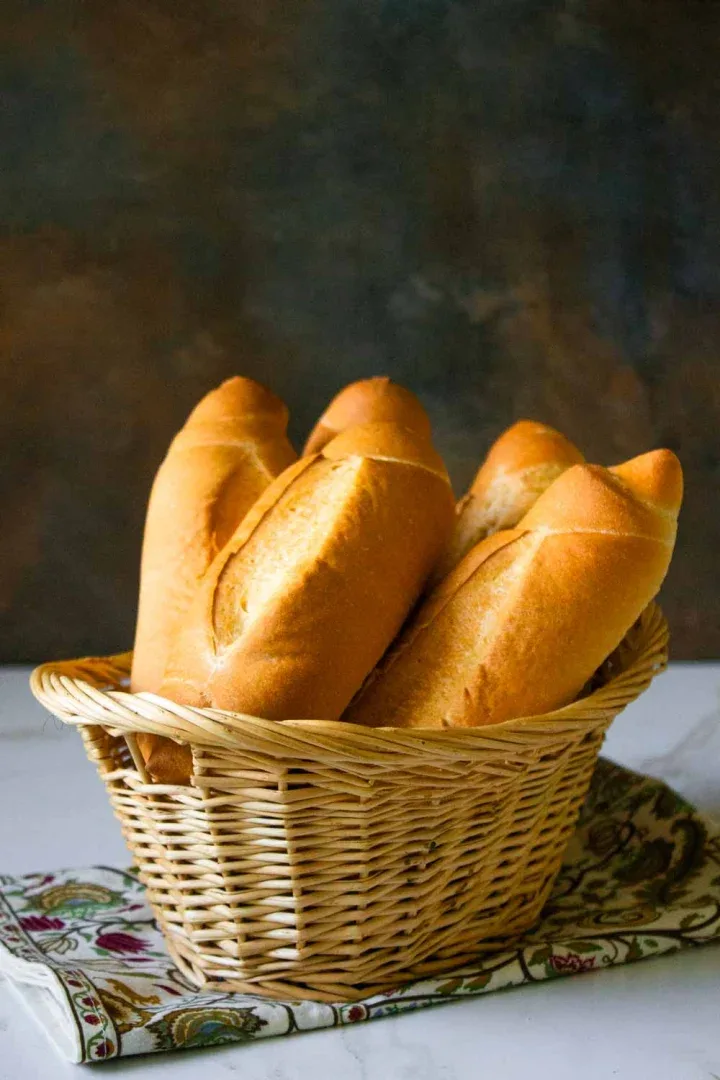
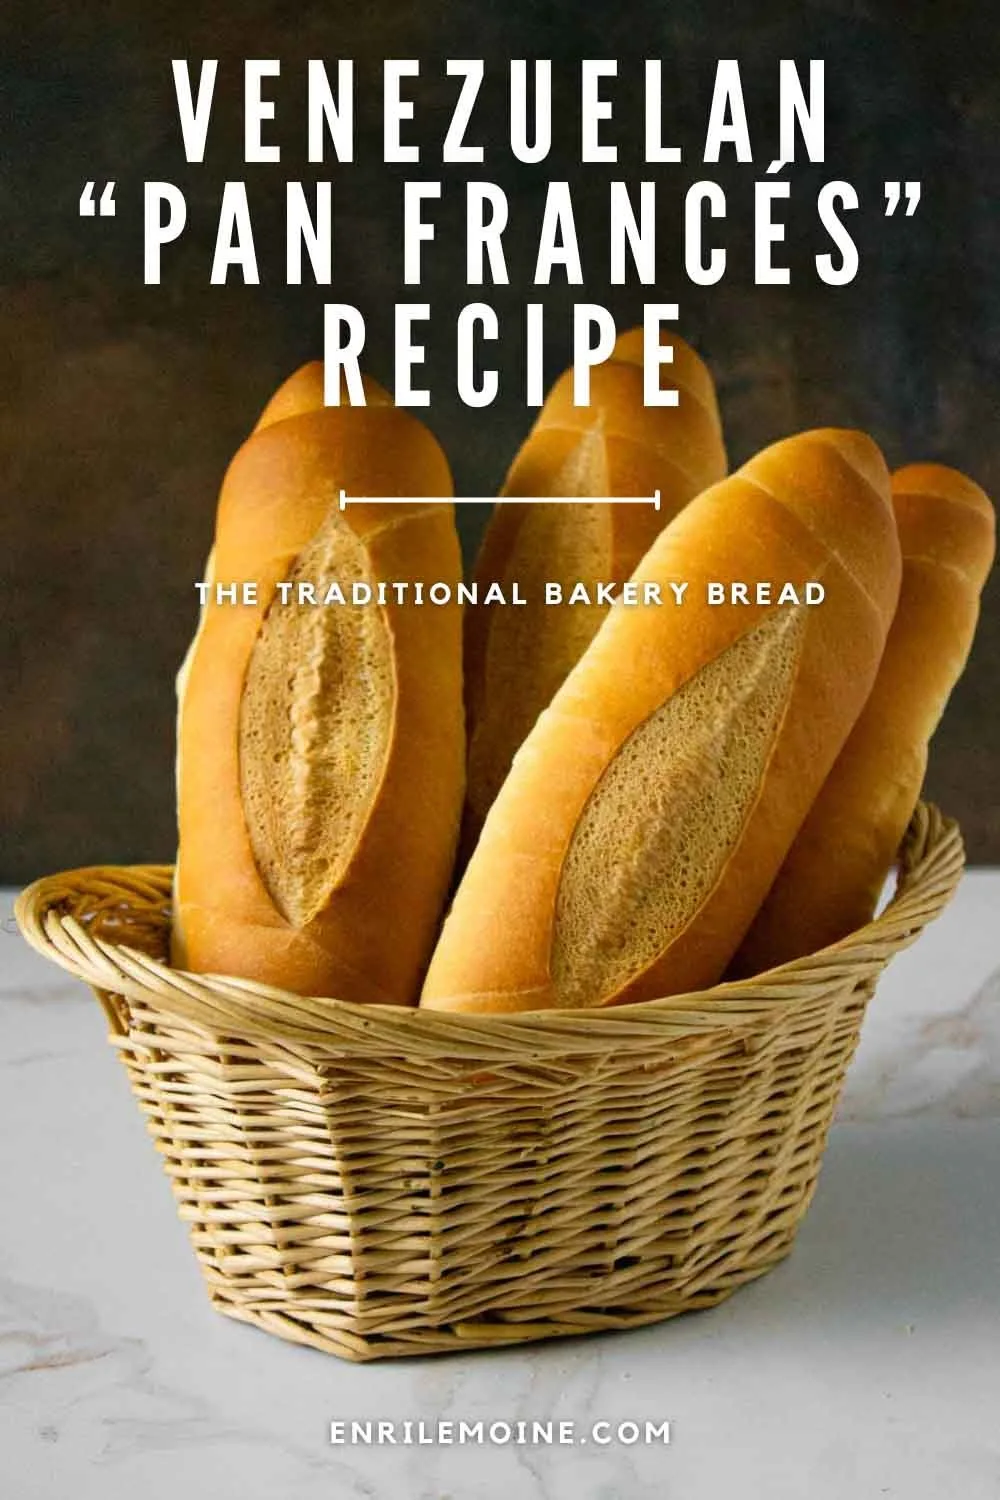
If you’re not Venezuelan, you might be wondering: what’s this about Venezuelan French bread? Let me tell you: in Venezuela, we call pan francés the savory bread roll, elongated in shape, quick to prepare and bake, with soft crumb and thin, crispy crust that distinguishes it from the French baguette.
This is the bread bought daily, preferably freshly baked, in bakeries throughout the country. As a child, at my grandma Ligia’s house, there was no better “mandado” than going to buy bread at the corner bakery.
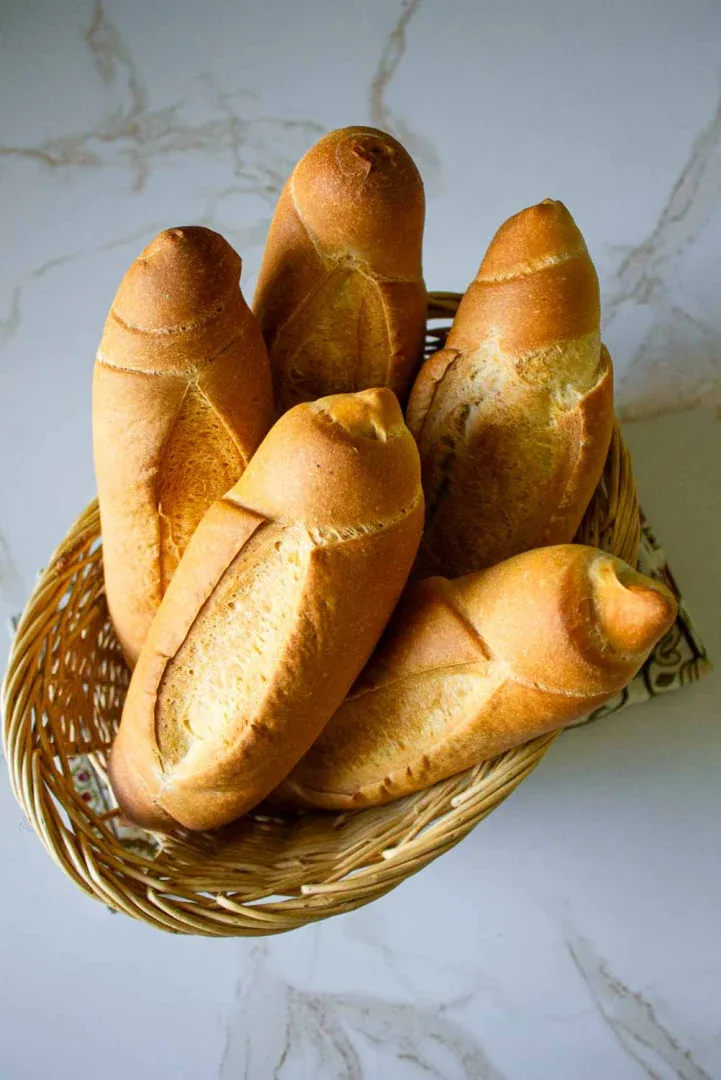
The best part was that whoever ran the errand had the privilege of starting to eat bread on the way back from the bakery. One would start pinching the tips of what we also called, due to its shape, “pan de piquito.” And that was the closest thing to glory.
Enri

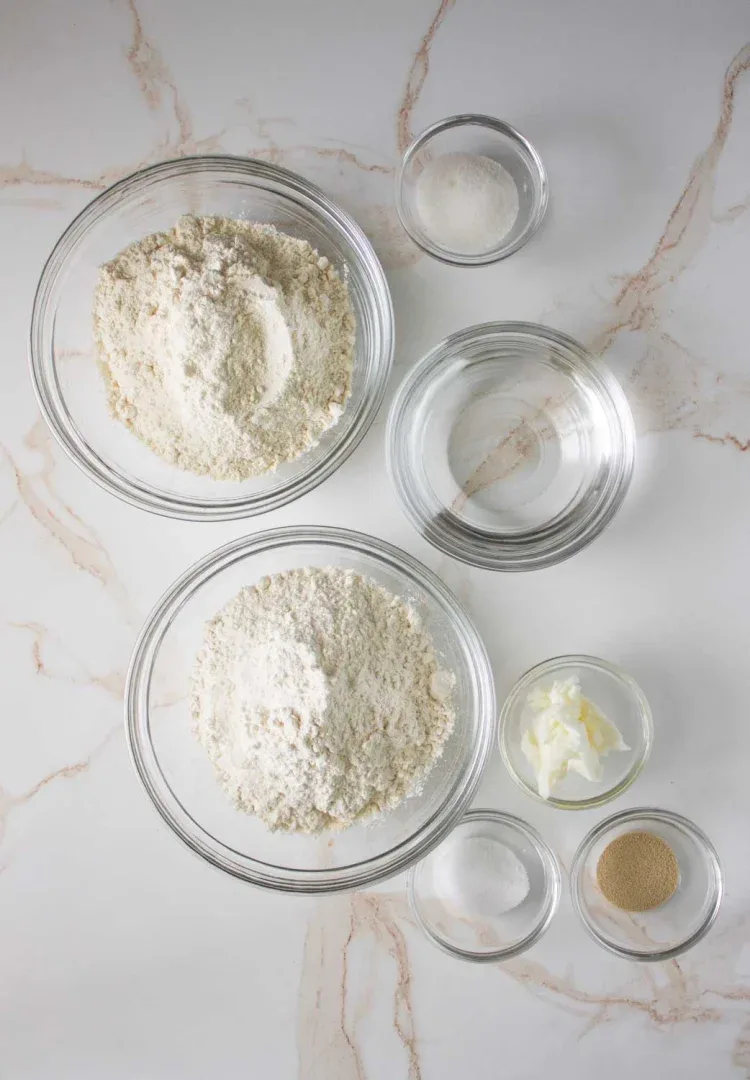
Ingredients
Para hacer este pan vas a necesitar los siguientes ingredientes (las cantidades aparecen al final en la tarjeta con la receta):
How to Make Venezuelan French Bread in 12 Steps
The process for making this bread is quite simple, but it involves a series of steps that you must follow, I’d say rigorously, to achieve the desired result.
1. Weigh the Ingredients
In baking, unlike everyday cooking, precision is key. That’s why it’s crucial to weigh all ingredients and adhere to exact quantities to achieve the desired bread.
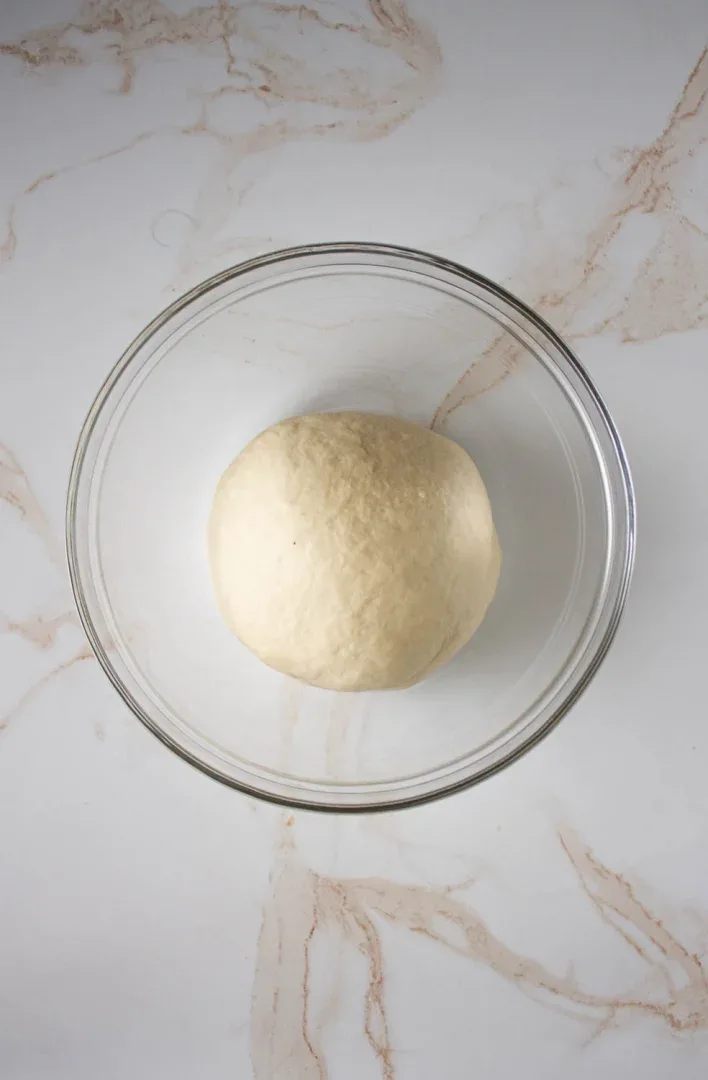
2. Knead
Starting with the water, put all ingredients in the bowl of a stand mixer, with the dough hook. Knead until a smooth, malleable, and homogeneous bread dough forms.
3. First Rest
When the dough is ready, place it in a bowl and cover with plastic wrap. Let it rest for 10 minutes.
4. Fold the Dough
On a clean work surface (I do it on a baking silicone mat), with the help of a rolling pin, extend the dough, fold, and extend again in the opposite direction. Repeat this folding process at least six times, always folding the extended dough onto itself. Cover and let rest for 10 more minutes.
5. Do the Gluten Window Test
After the previous step, do the gluten mesh test. This means: stretch a portion of the dough with your fingers to determine good gluten development. What you’re looking for is an elastic dough that doesn’t break, guarantees gas retention from fermentation, and gives good structure to the bread.
In baking, this is also known as the gluten test or gluten window test. If the gluten mesh isn’t elastic enough, then perhaps you need to fold the dough again and give additional resting time (10 minutes will be sufficient).
6. Divide and Weigh the Dough
With a bench scraper or dough cutter, divide the dough into portions of approximately 110 grams each.
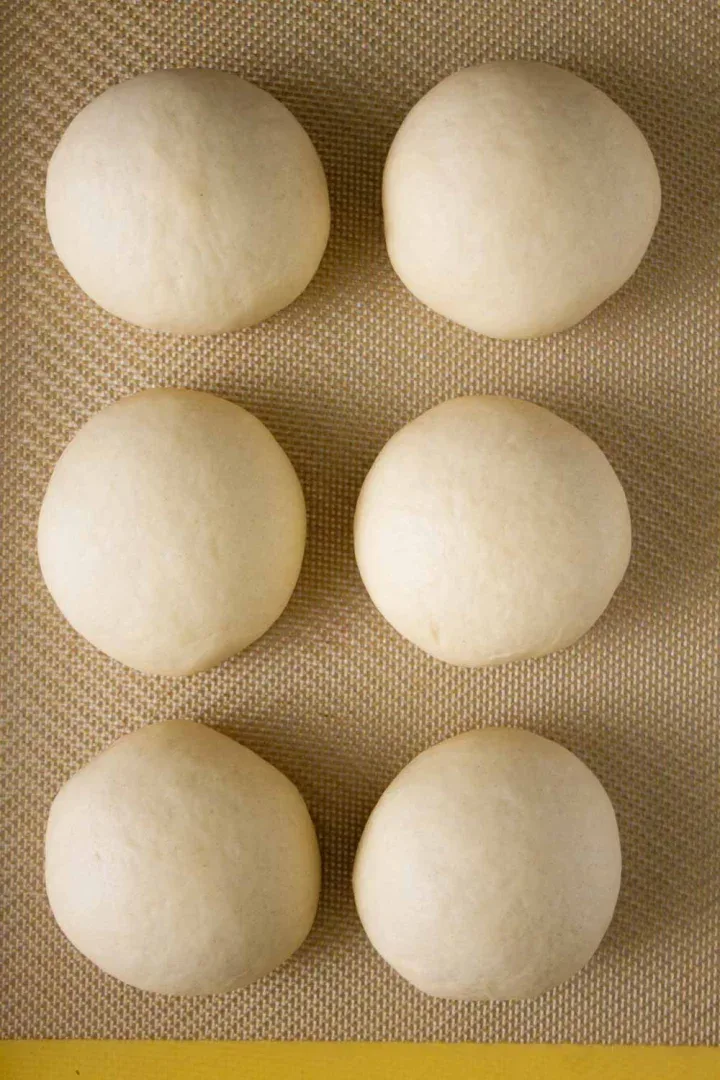
7. Shape into Balls
Make a ball with each portion of dough. The idea is to achieve a smooth sphere. Keep folding the dough toward the center until you achieve an irregular ball. Pinch the edges so everything is well sealed.
Make a cup with your palms and start making circular movements with the dough on the work surface. This way, you’ll create tension on the dough surface while sealing the base.
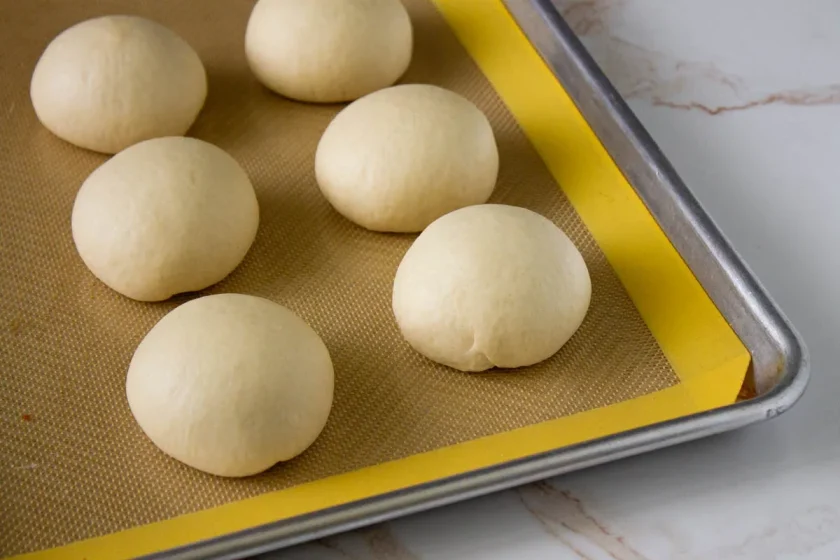
8. Second Rest
Once the dough is shaped into balls, let the balls rest, covered, on a tray with baking silicone or parchment paper.
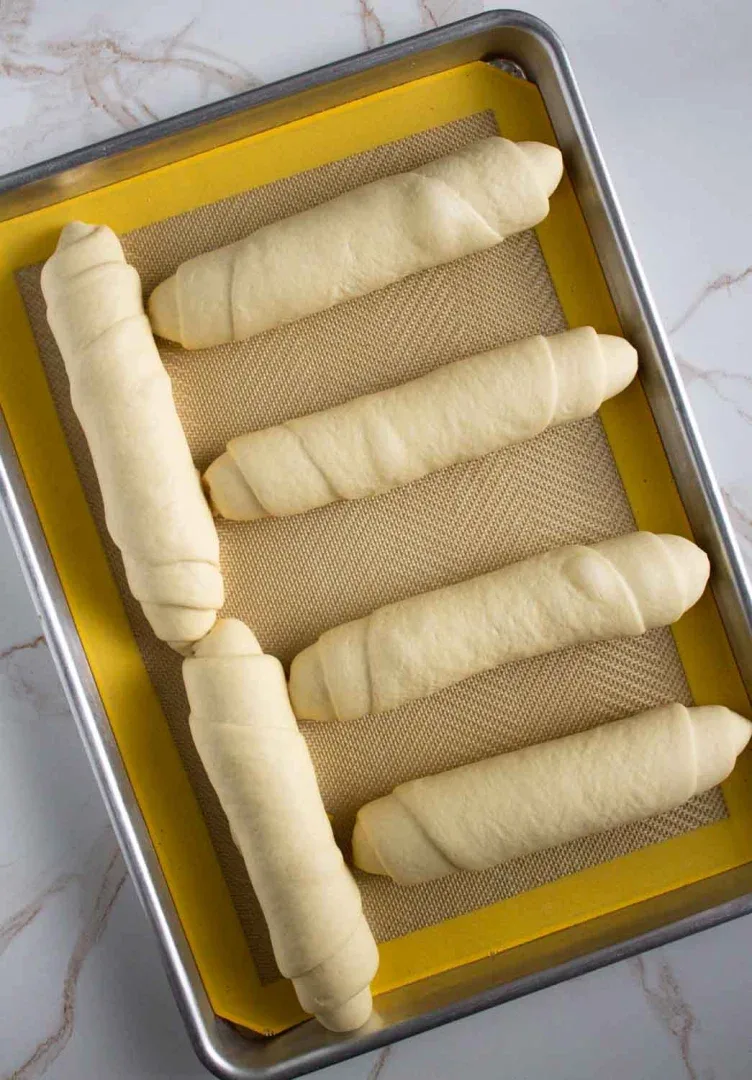
9. Shape the Rolls
With the help of a rolling pin, stretch each ball. You’ll form an oval shape, ensuring one end is about a finger’s thickness and the other is as thin as possible. Spray a little water on the dough, roll firmly, starting with the thick part, to create some tension and seal the ends. Place the rolls on the tray with the seam down.
10. Fermentation
Place the rolls to ferment, covered, until they double in size at room temperature.
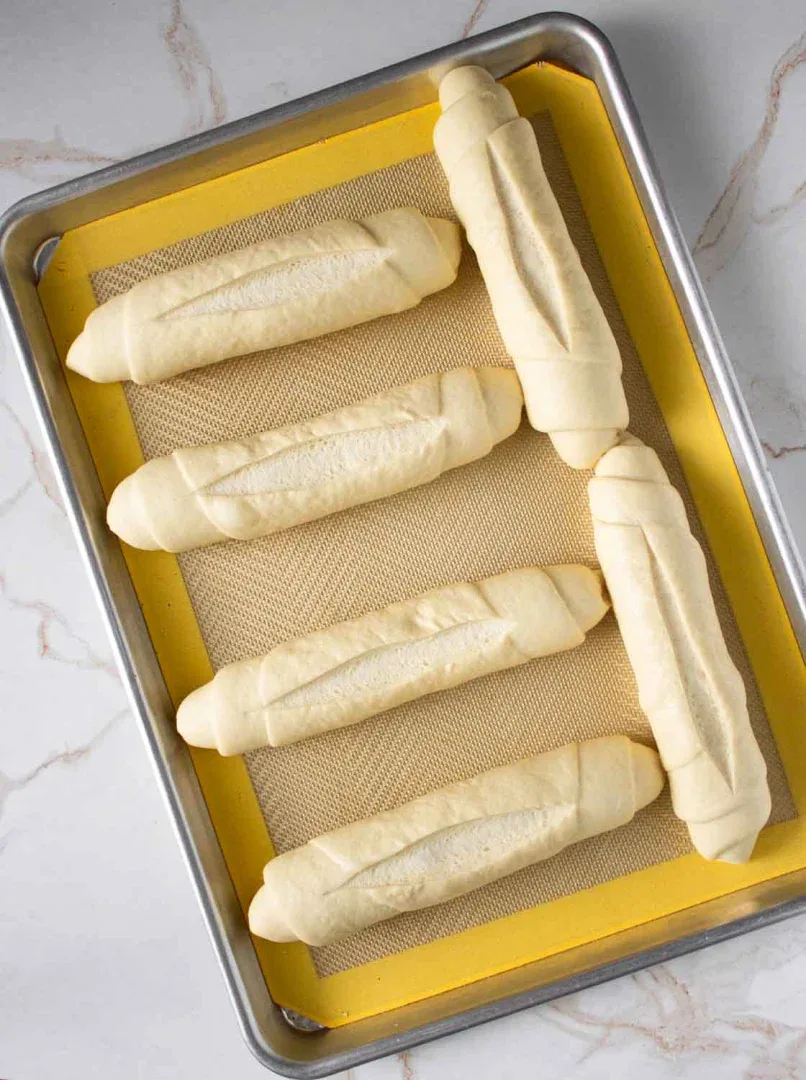
11. Scoring
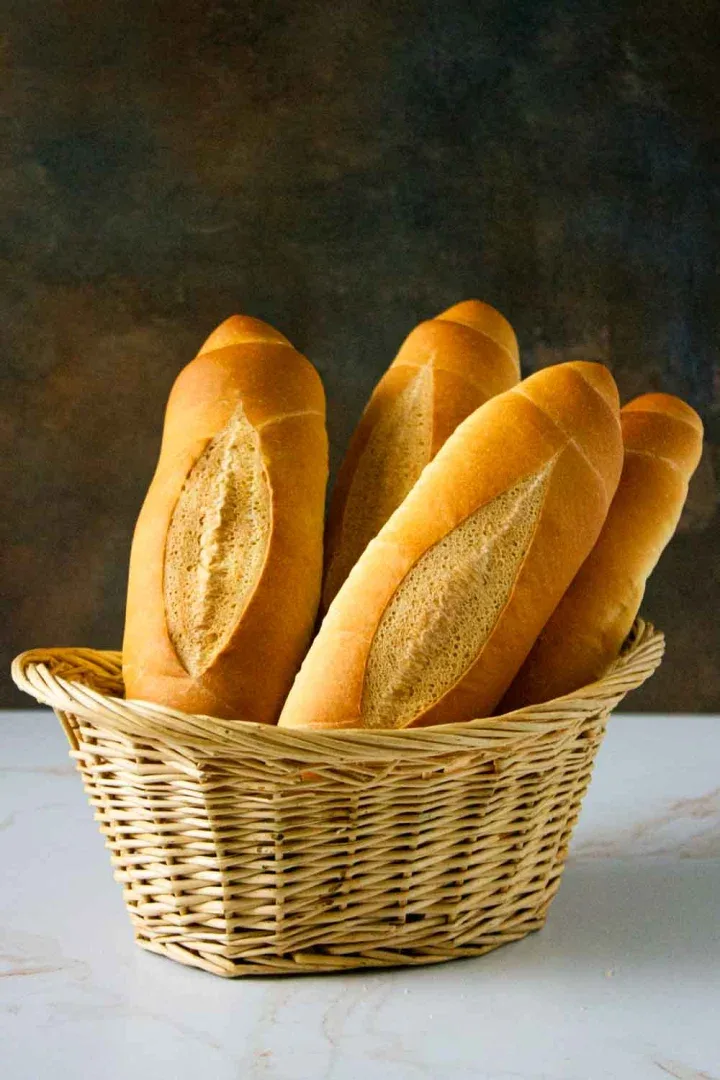
In baking, scoring refers to the cut made with a lame to rolls immediately before entering the oven. In the case of this pan francés, it consists of a shallow cut along the roll. Before doing it, spray the rolls with a little water using a sprayer. This helps form a crispy crust and allows the bread to grow in a controlled way during baking.
12. Baking
Half an hour before baking your rolls, place an iron pot on the lower rack of the oven and preheat to 430°F (220°C). When it’s time to put the rolls in the oven, place three ice cubes in the pot, and put the tray with the breads on the center rack. Bake for 10 minutes.
Lower the temperature to 390°F (200°C) and bake for 20 more minutes. To make sure your breads are perfectly cooked, insert a thermometer through one of the tips toward the heart of the roll. If the thermometer reads 200°F (93°C), the bread is ready.
You’ll have perfect bread, golden brown with the characteristic appearance of Venezuelan bakery bread. And surely, your house will smell like heaven, which is the same as smelling like a bakery.
FAQs
More Delicious Bread Recipes
If, like me, you enjoy making bread at home, don’t miss my other recipes:
If you enjoyed this recipe, subscribe to my YouTube channel for more delicious ideas, and check out my Amazon store for my favorite kitchen tools and ingredients.
Venezuelan Pan Francés
Ingredients
- 203 grams water
- 4 grams granulated yeast
- 20 grams sugar
- 8 grams salt
- 20 grams vegetable shortening
- 203 grams all-purpose flour
- 203 grams high-protein bread flour
Instructions
- Weigh all ingredients.
- Starting with water, put all ingredients in the bowl of a stand mixer with a dough hook. Knead for 12 minutes until a smooth, malleable, and homogeneous bread dough forms.
- When the dough is ready, place it in a large bowl and cover with plastic wrap. Let it rest for 10 minutes.
- On a clean work surface and with the help of a rolling pin, extend the dough, fold, and extend again in the opposite direction. Repeat this folding process at least six times, always folding the extended dough onto itself. Cover and let rest for 10 more minutes.
- Do the gluten mesh test. If the dough isn’t elastic enough, try folding it again and giving it additional resting time (10 minutes should be sufficient).
- Divide the dough with a bench scraper or dough cutter into 6 portions of 110 grams each.
- Make a ball with each portion of dough. The idea is to achieve a smooth sphere. Keep folding the dough toward the center until you achieve an irregular ball. Pinch the edges so everything is well sealed.
- Make a cup with your palms and start making circular movements with the dough on the work surface. This way, you’ll create tension on the dough surface while sealing the base.
- Once the dough is shaped into balls, let the balls rest, covered, on a tray with baking silicone or parchment paper for 10 minutes. You can cover the balls with a clean kitchen towel or put the tray inside a plastic bag.
- With the help of a rolling pin, stretch each ball. You’ll notice you have elastic and extremely malleable dough. You’ll stretch and form an oval shape, ensuring one end is about a finger’s thickness and the other is as thin as possible.
- With a sprayer, spray a little water on the extended dough so that when rolling your bread, the dough sticks. Start rolling the bread, beginning with the thicker part, and stretching and creating some tension in what will be the center of your loaf.
- When finished, press the ends of each roll to form the little tips and place on the same baking tray with the seam down. Each roll should measure about 5-6 inches (about 12-15 centimeters), depending on whether you like your bread long, like in the photos or more chunky.
- Put the rolls to ferment, covered, for an hour and a half (again, you can cover with a towel or put the tray in a plastic bag). Remember that fermentation time can vary depending on environmental conditions.
- During the last half hour of fermentation, preheat the oven and an iron pot that you’ll place on the lower rack to 430°F (220°C).
- Just before placing the rolls into the oven, spray them with a little water using a sprayer.
- Make a shallow longitudinal cut on the surface of the rolls.
- Place three ice cubes in the pot, then position the tray with the rolls on the central rack. Bake for 10 minutes.
- Lower the temperature to 390°F (200°C) and bake for 20 more minutes until golden brown.
- To make sure your rolls are perfectly cooked, insert a thermometer through one of the tips toward the heart of the roll. If the thermometer reads 200°F (93°C), the bread is ready.
- Let cool on a metal rack for 10 minutes before serving.
Did you make this recipe?
Tag @enrilemoine on Instagram and hashtag it #byenrilemoine. Thank you!
- 35 Foolproof and Fuss-Free Authentic Venezuelan Recipes - October 2, 2025
- Venezuelan Pineapple Upside-Down Cake Recipe - September 23, 2025
- Venezuelan Pan Francés: Step-by-Step Recipe - September 18, 2025