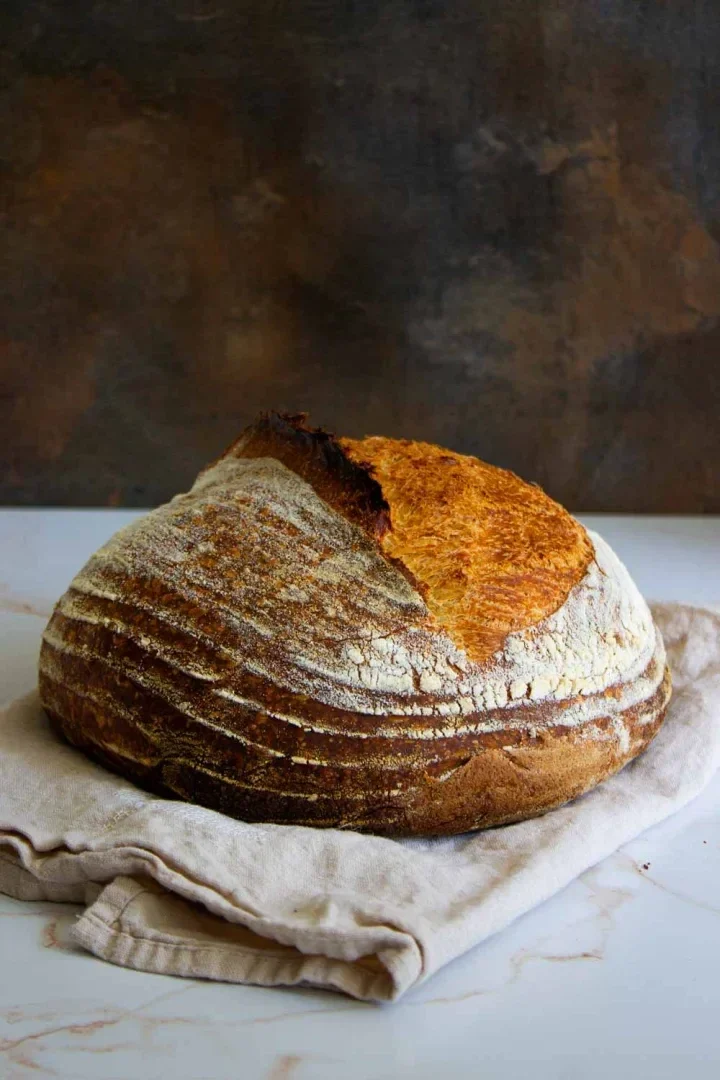
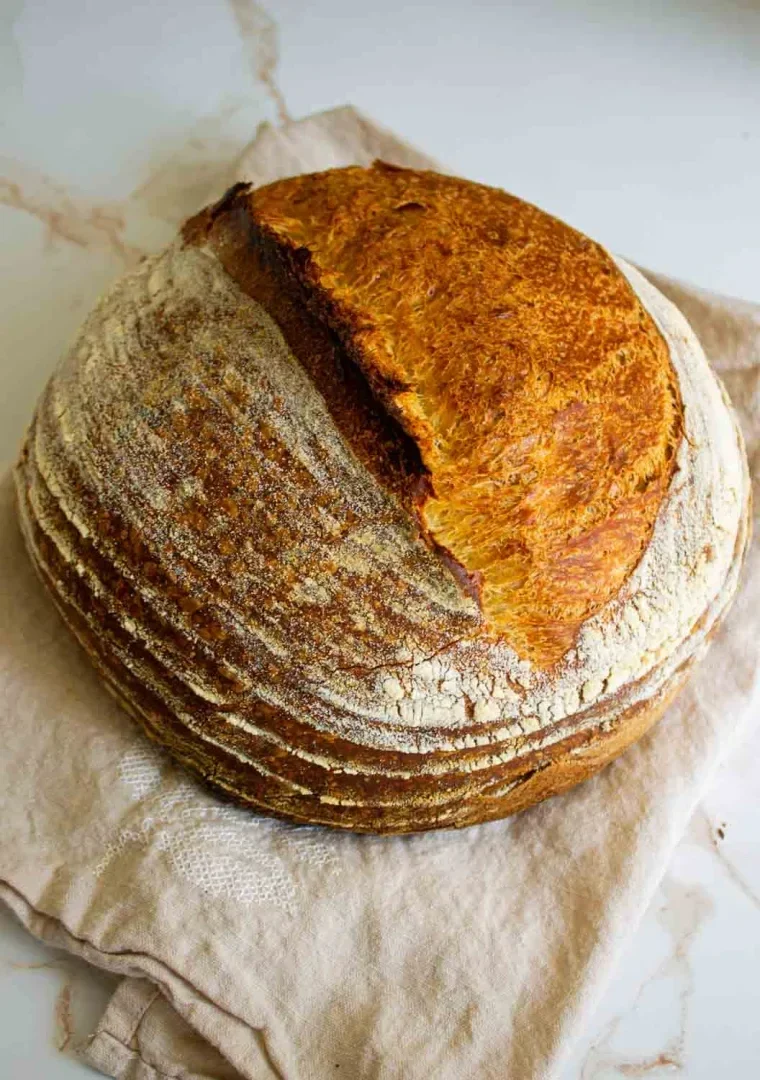
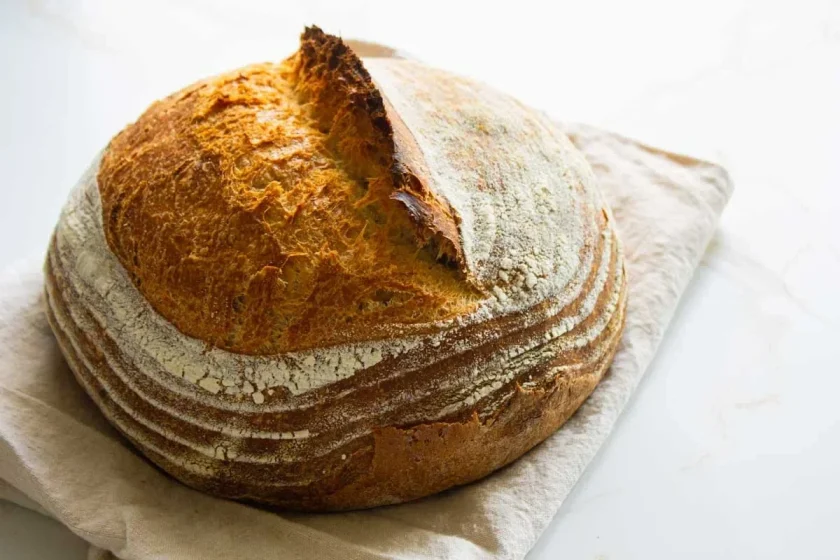
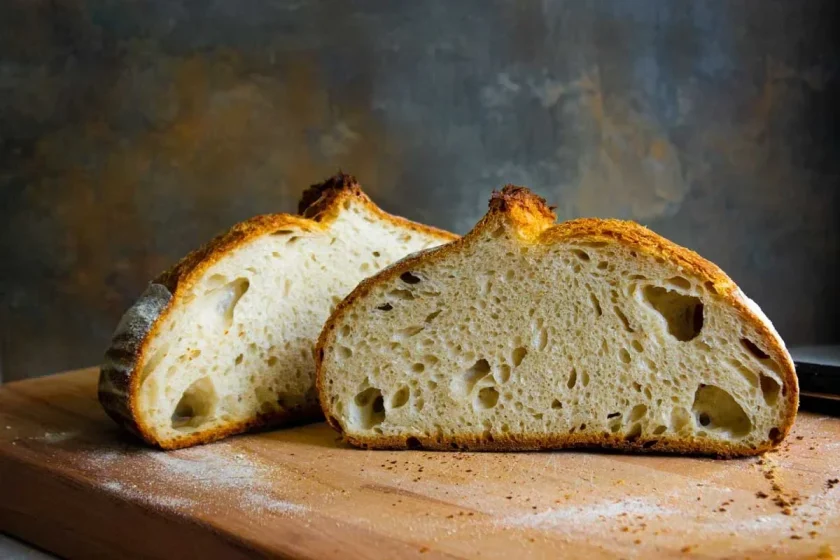
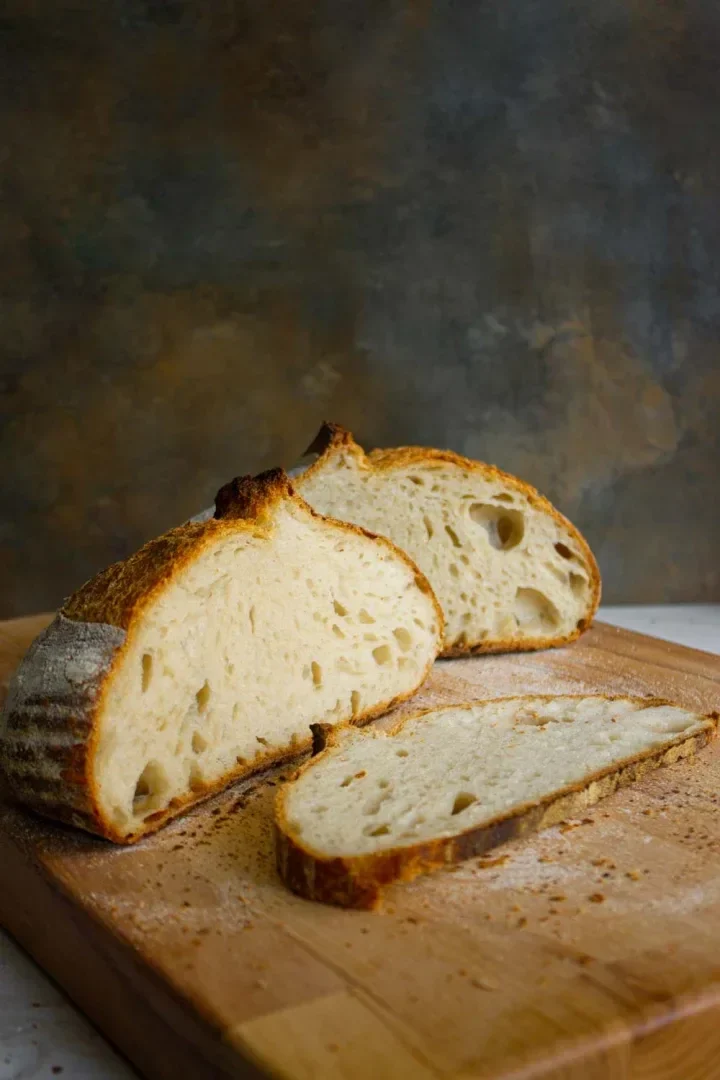
There’s nothing quite like the aroma of fresh homemade sourdough bread straight from the home oven. Imagine pulling out a rustic loaf with a crunchy, golden crust that reveals a soft, airy crumb with beautiful, irregular alveoli. Keep reading because that is precisely the recipe I’m sharing today.
This recipe is special to me. It was inspired by my dear friend Irlib Taylor, the talented baker behind The Artisian Loaf. Irlib taught me the art of sourdough bread-making and how to transform simple ingredients into an extraordinary loaf that she boldly claims is “the best bread in the world.”
Note: As a member of the Amazon Associates Program and other affiliate programs, I receive compensation for products sold through affiliate links in this post at no cost to the buyer.
Although making sourdough bread might seem intimidating the first time, this recipe —straight from Irlib’s wisdom— will guide you to bake an incredible loaf of bread confidently. The secret? An active sourdough starter and a long fermentation process transform simple ingredients into nutritious, flavorful, rustic bread.
Why You’ll Love This Artisan Sourdough Bread Recipe
- Natural Fermentation: Unlike bread made with commercial yeast, this sourdough version develops a complex, slightly tangy flavor through slow fermentation.
- Nutritional Benefits: The long fermentation process makes this homemade sourdough bread easier to digest and more nutritious than store-bought loaves.
- Artisan Quality: With a high hydration percentage (60-75%) and careful technique, you’ll achieve that professional-looking bread with a thick, crunchy crust and soft crumb.
Essential Ingredients
- Warm water (room temperature)
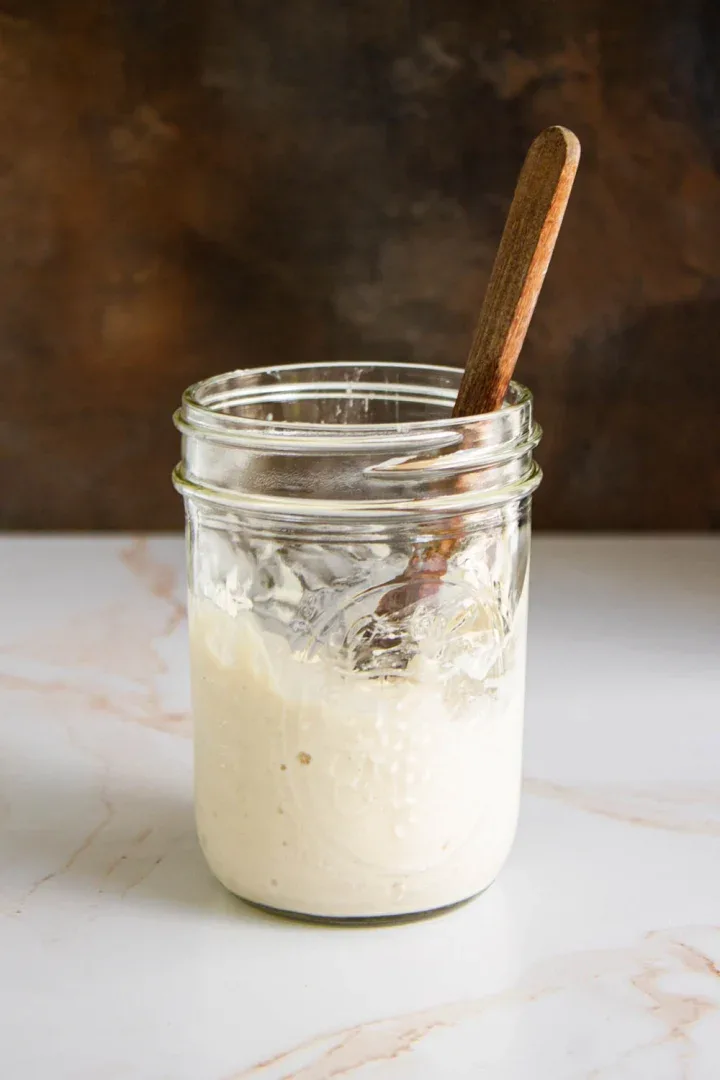
- Active sourdough starter
- Extra virgin olive oil
- White bread flour (When I started consistently making sourdough bread, I substituted King Arthur bread flour with Sir Lancelot, a high-gluten flour from the King Arthur brand. This flour is sold in 50-pound bags.)
- Sea salt
- Rice flour (for preventing sticking)
What equipment do I need, and what can I use if I don’t have it?
The beauty of making rustic bread is that you don’t need specialized equipment to get started. The basics include:
- Kitchen scale.
- Large mixing bowl.
- Danish dough mixer. If you don’t have one, mix the ingredients with a wooden spoon or your hands. Mix over 1000 grams of flour using an electric stand mixer with the kneading hook.
- A banneton (proofing basket) or a strainer covered with a thin cotton towel maintains the loaf’s shape while proofing.
- A silicone bread sling for the Dutch oven. If you don’t have one, use a piece of parchment paper.
- A cast-iron Dutch oven with a lid. If you don’t have one, bake your bread on a preheated pizza stone or an oven tray. In this case, a couple of ice cubes should be placed in another tray to generate steam during the first minutes of baking.
- A lame or a very sharp paring knife.
- A cooling rack.
How to Make Rustic No-Knead Sourdough Bread in 6 Steps
1. Mixing and Autolysis
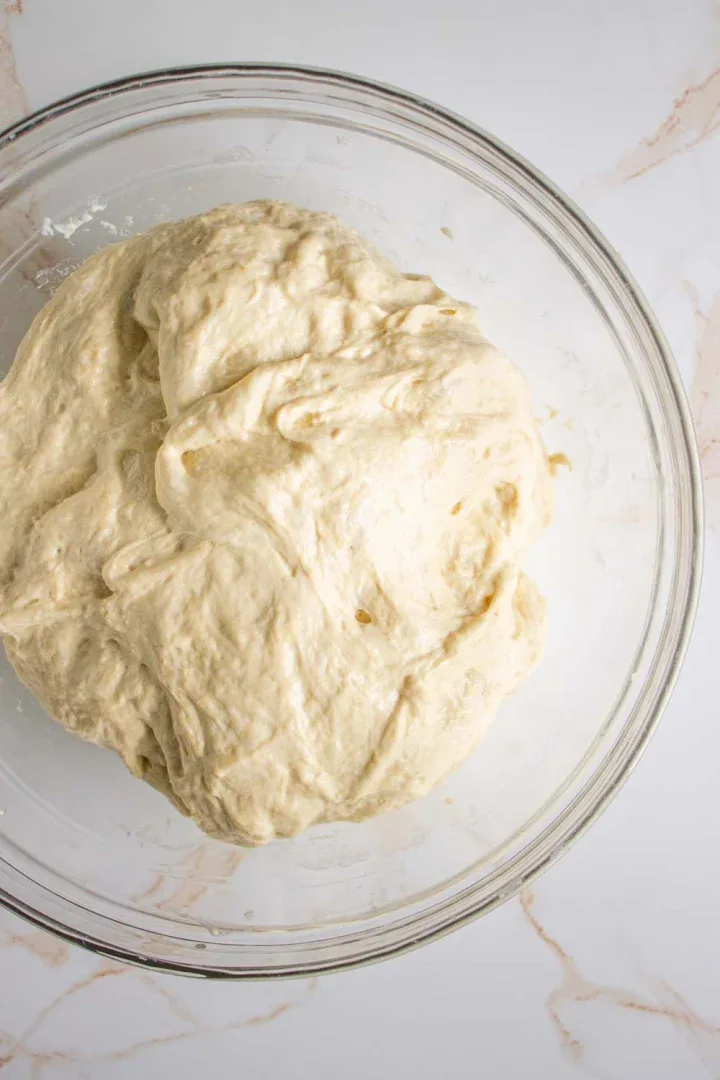
Combine water, active starter, and olive oil in a large mixing bowl. Add flour and salt, mixing until just combined. Cover with plastic wrap and let the dough rest for an hour. This autolysis process allows enzymes to start breaking down starches and hydrating proteins.
2. Bulk Fermentation, Stretching, and Folding
After the initial rest, perform a series of stretch and fold techniques. With wet hands, stretch the dough and fold it over itself every 45 minutes, repeating 3-4 times during bulk fermentation. This develops gluten structure and creates those beautiful air pockets.
3. Shaping
When the dough has risen and developed bubbles, place it on a floured surface and gently shape it into a tight ball. Create surface tension by rolling and tucking the dough, ensuring a smooth, taut exterior.
4. Cold Fermentation
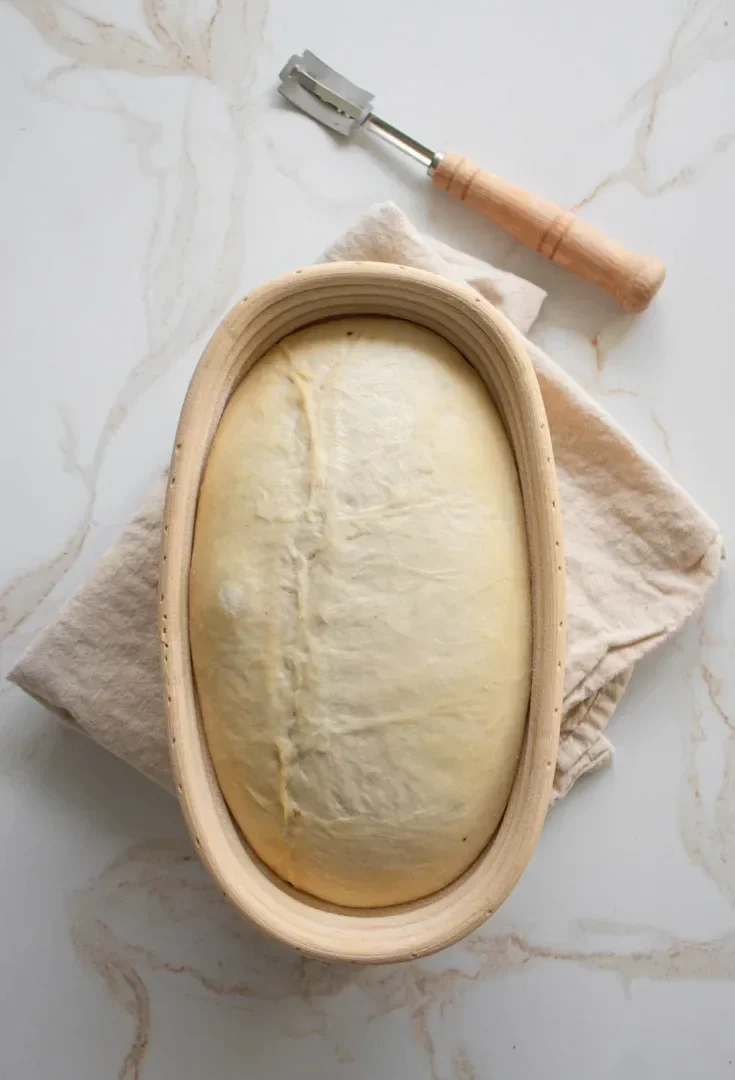
Place the shaped dough in a proofing basket dusted with rice flour. Cover and refrigerate for 12-36 hours. This long, cold rise develops deeper flavors and improves digestibility.
5. Baking Preparation
Preheat your Dutch oven in a 450°F oven for 45-60 minutes. The intense heat is crucial for achieving that desired oven spring and crunchy crust.
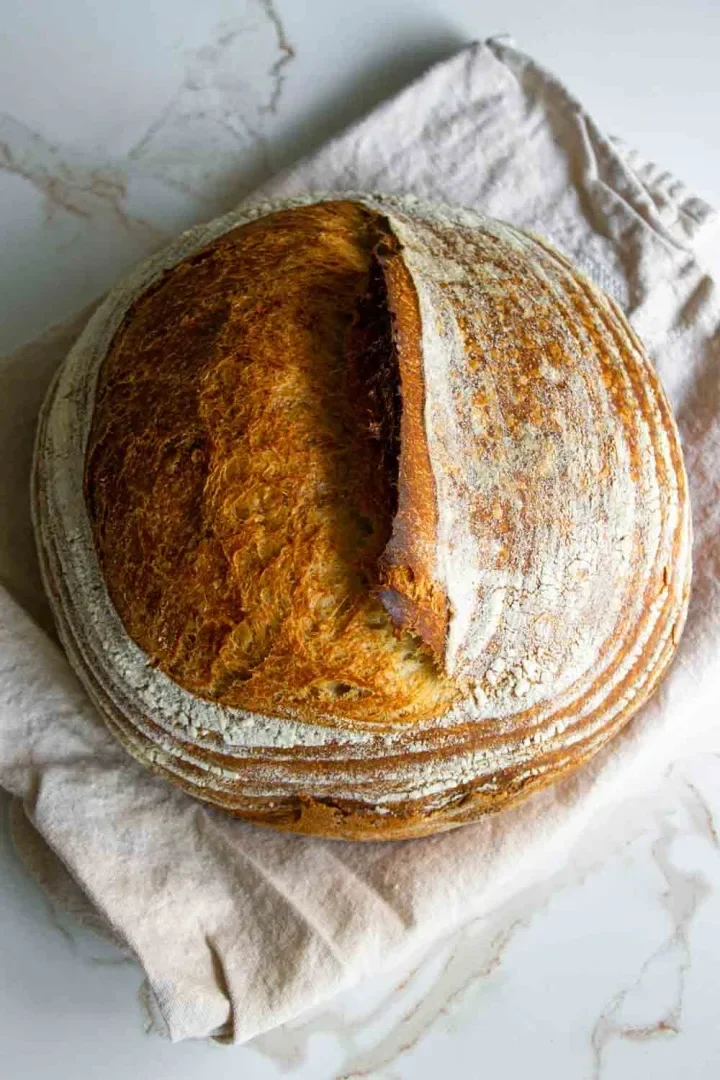
6. Scoring and Baking
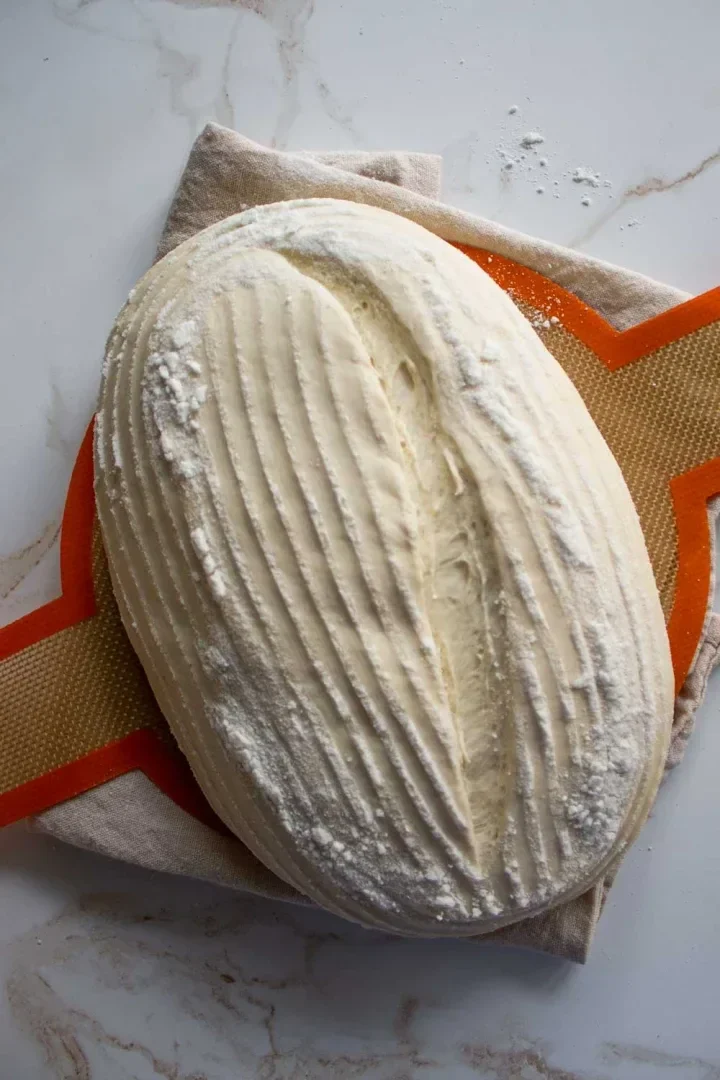
Score the loaf with a razor blade or sharp knife, creating a design that will allow the bread to expand in a controlled way. Bake covered for 20 minutes, then uncovered for another 20-25 minutes. For a darker crust, you might bake it for 10-15 more minutes. Your loaf is ready when the internal temperature reaches 190-195°F.
Pro Tips for the Perfect Loaf
Whether this is your first loaf or you’re consistently baking sourdough bread,
- Ensure your sourdough starter is active and bubbly.
- Be patient with the fermentation process. Let that dough rise!
- Ensure the oven reaches 450°F; don’t forget your loaf must be baked in a preheated Dutch oven.
- Don’t cut your loaf immediately. Let it cool down completely for the best texture.
- To slice the whole loaf manually, wait until the next day for best results.
Variations to Try
- Substitute part (15-30%) of the white flour with whole wheat or rye.
- Add honey and old-fashioned oats for a sweeter, more dense crumb.
- Mix in chocolate chips for an indulgent treat.
How do I store my sourdough bread?
Store your bread in a paper bag to maintain the crispy crust. For extended storage, slice and freeze, toasting directly from frozen when ready to enjoy.
More bread recipes on this blog
- Artisan bread (no-knead)
- Cranberries and walnuts no-knead artisan bread
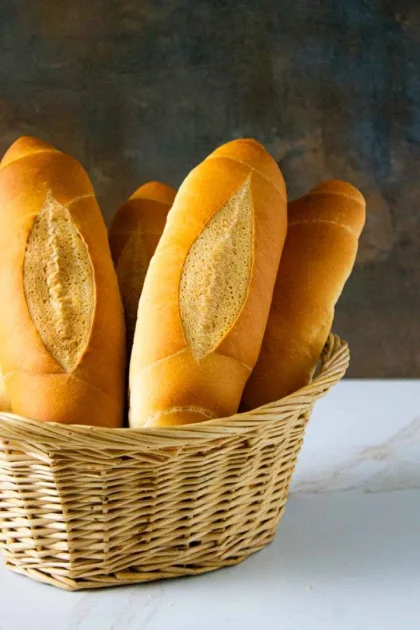
- Venezuelan-style French bread (pan francés)
- Venezuelan pan de jamón (ham stuffed bread)
- Focaccia with cherry tomatoes and rosemary
- Sourdough starter from scratch
Rustic sourdough bread recipe
Below is the recipe. I hope you like it as much as we do. Happy baking, and welcome to the wonderful world of homemade sourdough!

Thanks for subscribing to my YouTube channel and for visiting my Amazon shop.
Rustic Sourdough Bread
Ingredients
- 300 g water if your kitchen is very cold, you can use warm water
- 150 g active sourdough starter
- 30 g extra virgin olive oil
- 10 g sea salt
- 500 g bread flour
- Rice flour to dust the proofing basket
Instructions
- Combine the water with the sourdough and olive oil in a large bowl.
- Add the flour and salt and mix well until all the ingredients are integrated and a lumpy, wet dough is left. Cover with plastic wrap and let it rest for an hour.

- With slightly damp fingers, stretch the dough and fold it. When the dough no longer stretches, let it rest covered for 45 minutes. Repeat stretching, folding, and resting for 45 minutes three to four more times.
- Once the dough has risen substantially (more than half its original size) and has some air bubbles, drop it slowly onto a floured work surface.
- Stretch the dough with your fingers and fold from the edges toward the center, turning and repeating until the circle is complete.
- Turn the dough and form it into a ball with your hands. Roll it, making circular movements on the work surface and always bringing the dough towards you. Roll the ball as much as necessary until you achieve a smooth ball. Your dough should be soft and taut on the surface.
- Sprinkle the banneton with rice flour. Place the dough upside down in the basket,and press with your fingertips to seal the “seams.” Sprinkle with a little more rice flour.
- Cover with the fabric lining that comes with the banneton. Refrigerate for at least 12-18 hours.
- When ready to bake, preheat the oven and the Dutch over to 450°F (232°C) for 45 minutes to an hour.
- Remove the banneton from the refrigerator, uncover it, and cover it with parchment paper or a silicone bread baking mat. Place one hand on the parchment paper or mat and carefully turn the basket over with the other. Place the dough on the work surface and remove the basket.
- Using a lame, make a shallow cut about 4-the 5 inches (10-12 centimeters) long on the surface of the dough.
- Carefully transfer the dough to the preheated Dutch oven. Cover and bake for 20 minutes. Uncover and bake for 20 more minutes. Depending on your oven, you may need to bake for 10-15 more minutes so the loaf is nicely browned.
- The bread is ready when the internal temperature reads 195°F (90°C) on the thermometer.
- Remove the loaf from the oven and let it cool completely on a cooling rack.
- If you want to slice the whole loaf manually, wait until the next day when the crumb is firmer.
Nutrition
Did you make this recipe?
Tag @enrilemoine on Instagram and hashtag it #byenrilemoine. Thank you!
- Mashed Potatoes with Leeks and Swiss Chard Recipe - October 15, 2025
- 35 Foolproof and Fuss-Free Authentic Venezuelan Recipes - October 2, 2025
- Venezuelan Pineapple Upside-Down Cake Recipe - September 23, 2025