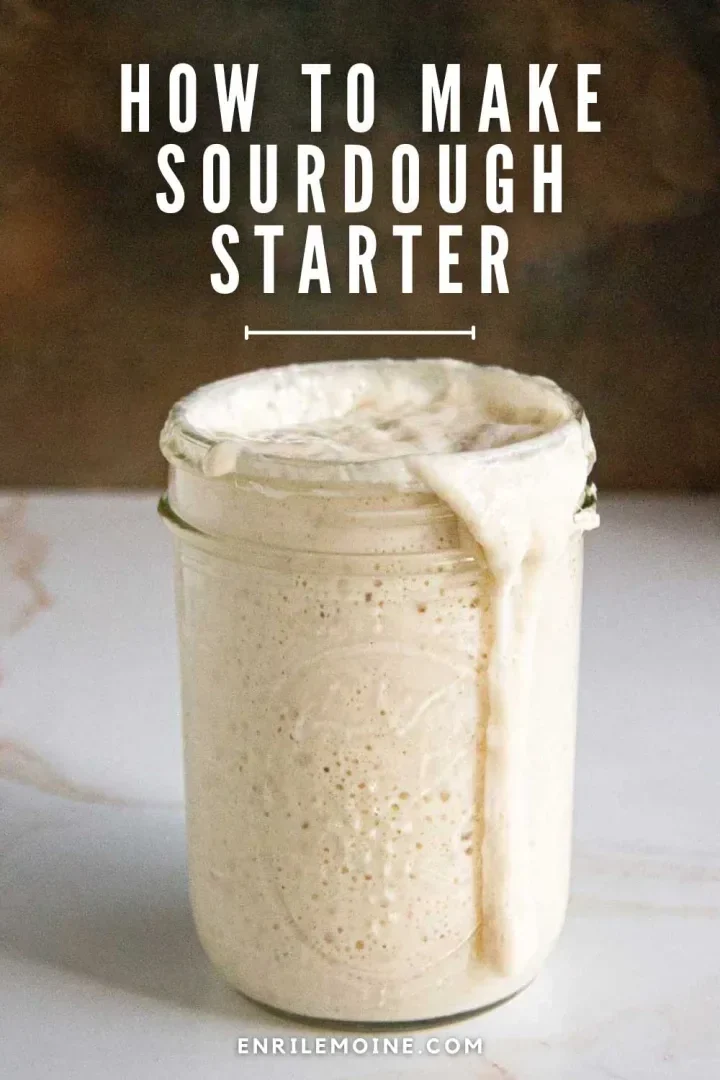
You’re in the right place if you have always wanted to make sourdough but have not dared, felt intimidated, or failed. Today, I’ll show you how to prepare this wonder with only two ingredients and without complications.
With this step-by-step tutorial, you’ll make your sourdough starter to bake the most delicious loaves, baguettes, pizzas, focaccias, and even sandwich bread without stress and with guaranteed success.
Note: As a member of the Amazon Associates Program and other affiliate programs, I receive compensation for products sold through affiliate links in this post at no cost to the buyer.
What is sourdough?
Sourdough is a natural ferment made with flour and water without added yeast. A live culture of bacteria and natural or wild yeast develops in flour mixed with water.
Unlike bread made with commercial yeast, sourdough bread is fermented thanks to the microorganisms in the flour. It’s a long process, but it’s worth every minute. This ancient method of natural fermentation has been used long before industrial store-bought yeast existed.
Why will you love making sourdough bread?
Firstly, bread made with sourdough has an incomparable flavor that is much more complex than bread made with commercial yeast.
By its long fermentation process, in which the gluten and starches in the flour are broken down, sourdough bread is much more easily digested and is therefore said to be a “healthy” bread.
As if that were not enough, sourdough acts as a natural preservative, allowing the bread to stay fresher for longer.
Fortunately, thanks to the recent sourdough bread boom, we have understood that the problem is not gluten but how the bread in the grocery store is made.
Sourdough: a pending assignment
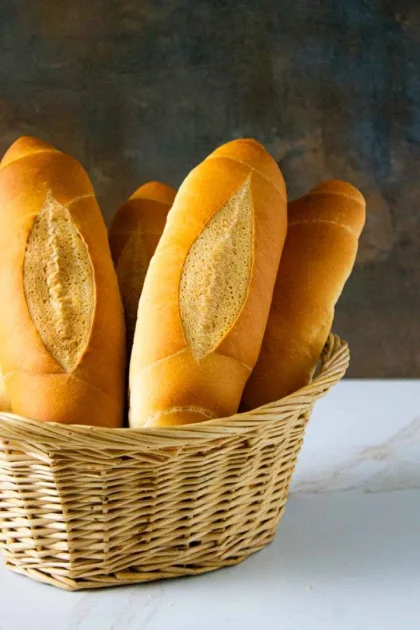
Thanks to my friends from Panes Venezolanos, I learned to make Venezuelan-style pan francés last year. Then, I decided that in 2025, all the bread eaten in my house would be homemade.
I did not imagine meeting that goal in August 2024, but much better still, starting in October of that year, all the bread we eat in my house is not homemade but sourdough.
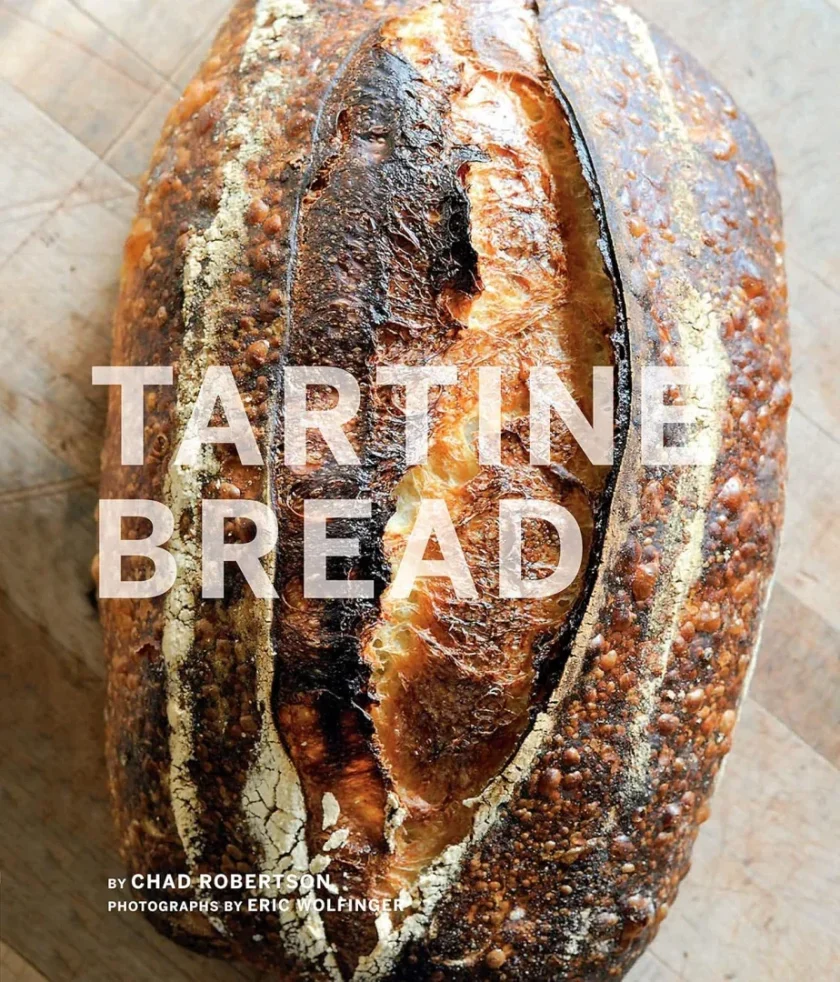
I had wanted to learn how to make sourdough since I purchased Tartine, a book by the San Francisco bakery of the same name, in November 2010. However, I admit I never tried.
Everything changed when my beloved Irlib Taylor, the artisan baker behind The Artisian Loaf, offered to teach me and gave me all her secrets for making homemade bread, including rustic loaves and sandwich bread, which I now make weekly.

I share those and other tricks I learned in the course Natural Bakery with Sourdough with Somosalvajes with you today so that you, too, can make your sourdough without complications.
What utensils do I need to make sourdough?
To make sourdough, you will need:
- A wide-mouth glass jar with a lid. I make and store mine in a wide-mouth Mason jar, but you can use any clean-lidded glass jar you have on hand. You can also cover your yard
- A fork (I find it is easier to mix the flour and water with a fork than a spatula or a spoon).
- A silicone spatula to keep the sides of the jar clean.
- A marker or a rubber band (this is to indicate the starter height once you have fed it).
- Depending on the ambient temperature of your kitchen, you may need a heater or warmer.
Although scales are essential in baking, making a sourdough starter is intuitive. So a kitchen scale is unnecessary in this part of the process.
Ingredients
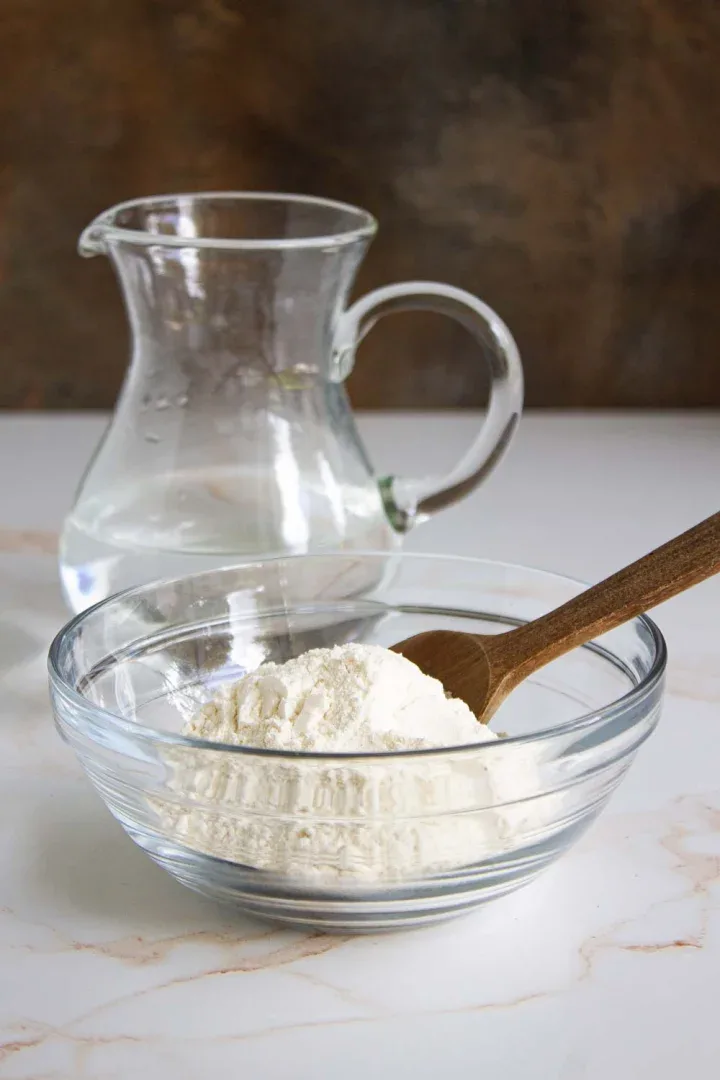
As far as ingredients are concerned, only two are required:
1. Wheat bread flour.
2. Water. You can use mineral or filtered water. If you use tap water, let it sit for at least 24 hours to allow the chlorine to dissipate. The water must be at room temperature.
Two intangible but essential ingredients
But in addition to those two “tangible” ingredients, there are two others as or more critical than flour and water. I’m talking about patience and trust in the process.
Before I achieved my first sourdough, which I have been baking since September 2024, I failed twice because I wasn’t patient enough and probably lacked confidence in what I was doing.
In both cases, when the ninth day arrived (yes because in my case, it took me nine days to achieve my first sourdough), I told myself, “This is not good.” “It doesn’t have a good color.” “I don’t like the way it smells.” And I threw it away.
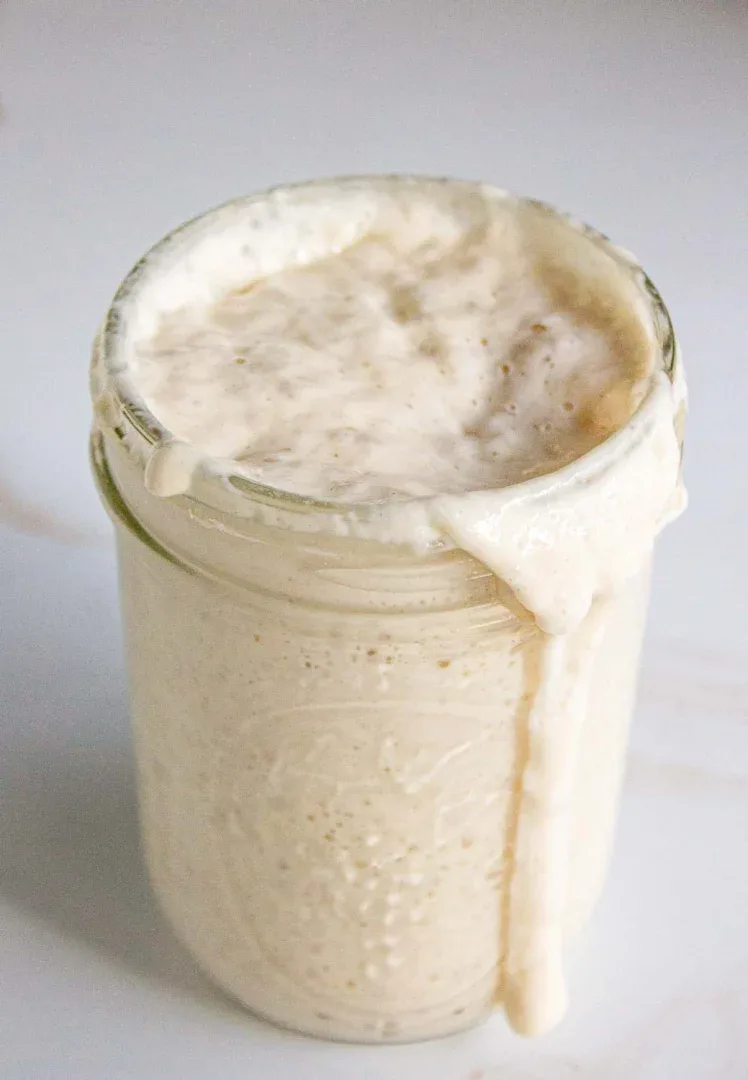
The third attempt was the charm. I decided to be patient, believe in the process, and follow through. On the ninth day, as if by magic, my sourdough tripled in volume, and I could finally make bread. So, I learned that patience and trust are key ingredients when making sourdough.
What is the best type of flour to use to make a sourdough starter?
I use wheat bread flour, which is why mine is known as white sourdough. I recommend King Arthur Unbleached Bread Flour Organic to those in the United States. All-purpose flour is not recommended.
Some mix this bread flour with a little, say 30%, whole wheat flour. Others like to add rye flour. That’s only on day one of preparation; from the next day on, they only feed with bread flour and water.
What is the right temperature to make sourdough?
Part of the secret for sourdough to develop correctly is the room temperature, so always look for a warm spot. Theoretically, the optimal temperature ranges between 75 and 79°F (24-26°C.) The sourdough will have vigorous activity at these temperatures, and the ideal balance between yeasts and bacteria will be achieved.
An acceptable range is between 68 and 82°F (20-28°C). Remember that lower temperatures will slow down fermentation, making the dough milder in flavor. At higher temperatures, on the other hand, fermentation will be faster, making the dough more acidic in taste and aroma.
That said, in my personal experience and taking into account that the temperature in my house is 71°F (21.5°C) all year round, after some experimentation, I concluded that to start my sourdough and refresh it when I want to use it, the temperature that works for the Miami AC and me is 85°F (29.4°C). To achieve that controlled, stable temperature, I use my warmer.
How to make sourdough starter step-by-step
Day 1
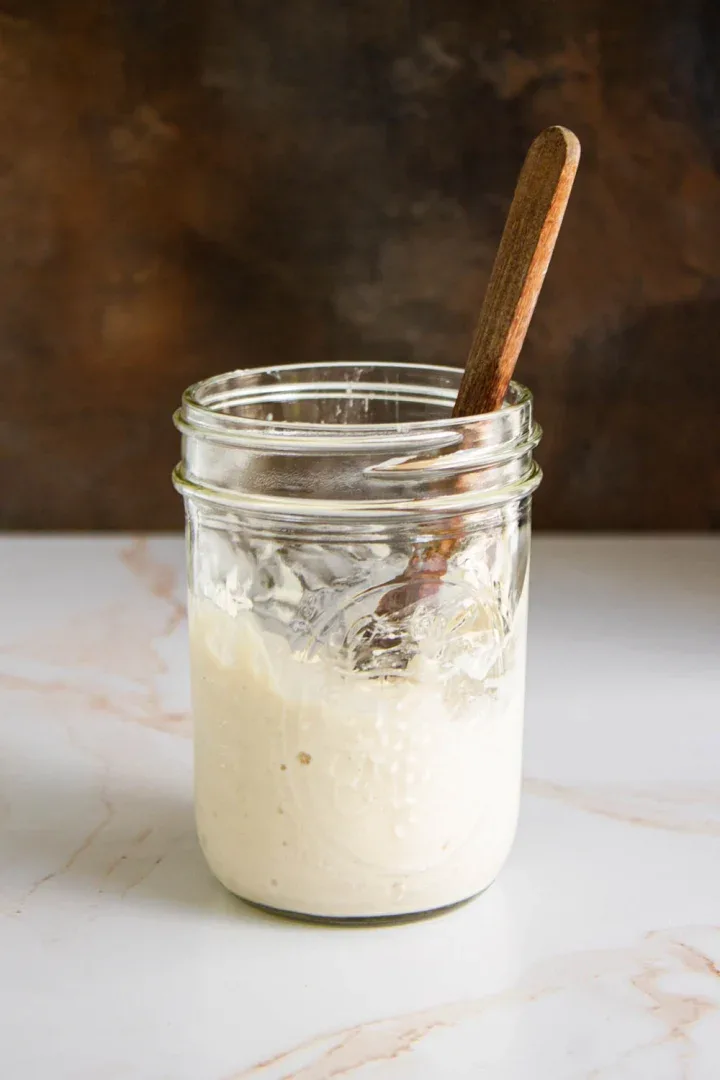
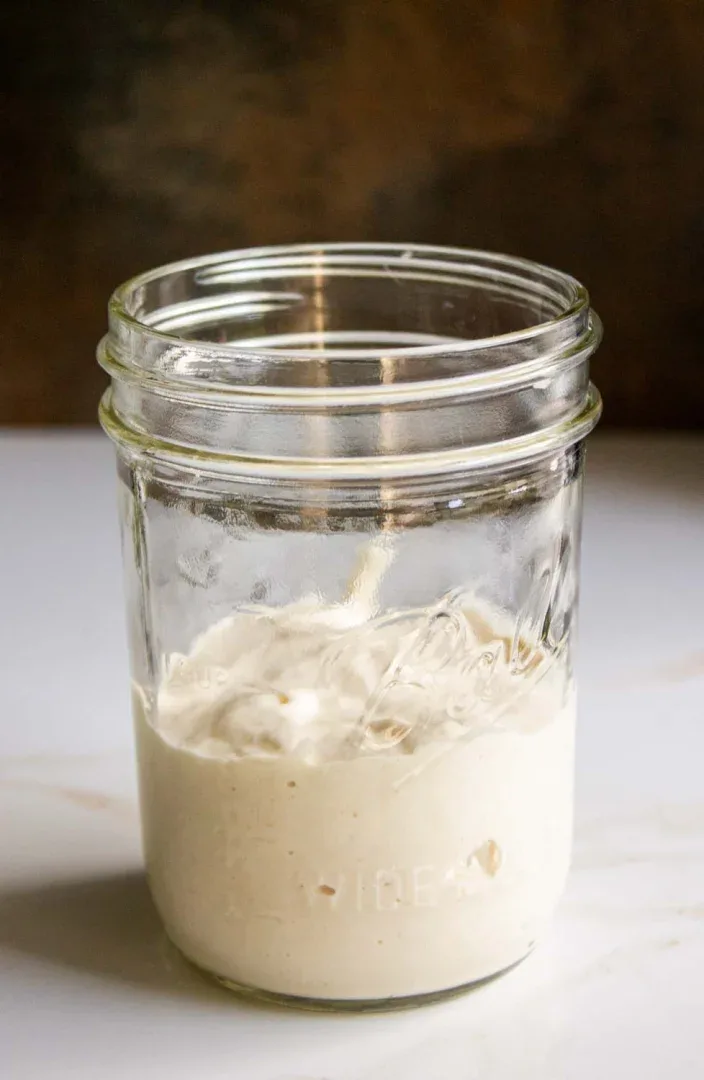
In a clean jar, mix equal parts of bread flour and water with a fork until there is no loose flour and everything is well integrated. The mixture should be like a thick paste.
You can start with a tablespoon of flour and another of water. Or with 20 grams of flour and 20 of water. It doesn’t matter if you feel like you’re making too little dough: keep in mind that for the next 4-5 days, you will continue adding flour and water to the mixture.
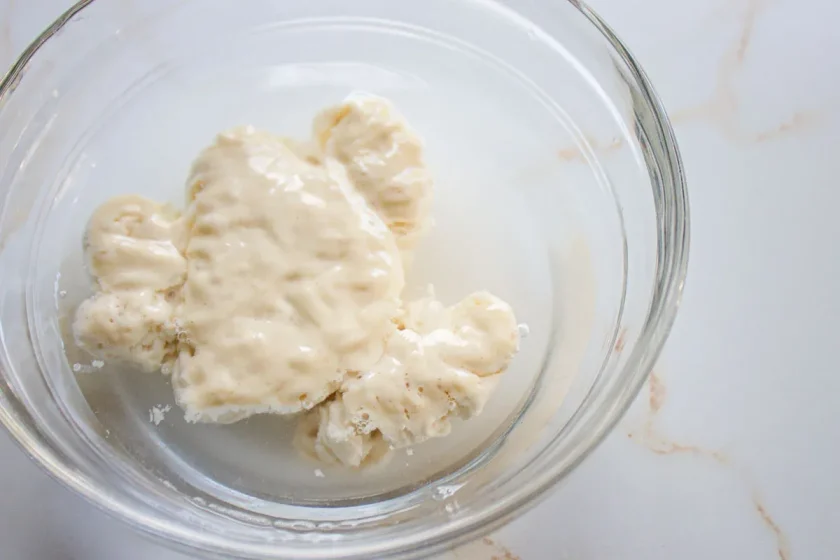
Using a silicone spatula, clean the sides of the jar. Cover it and store it in a warm place in your kitchen. During the first 24 hours, you’ll see an active starter: it will increase in size considerably and have a strong acetic acid odor from fermentation.
Day 2
In the same jar, add the same amount of water and flour. Mix well until everything is well integrated. Clean the sides of the jar. Cover it and store it in a warm place for 24 hours. You probably won’t see much activity in the starter, but don’t worry and remember that sourdough is a matter of time.
Day 3 onwards
Repeat the same procedure as the previous day until the sixth day. Some days, you will notice that your starter rises. In others, nothing happens. In addition to the smell of acetic acid, I smelled various odors, including alcohol, acetone, and almond extract. All of that is normal.
I know people whose sourdough is done on the fourth or fifth day. This is: a few hours after being refreshed or fed, on the fourth or fifth day, the starter doubles and even triples in size.
It took nine days, and the process favors forming a more vigorous dough.
Seventh day
Discard half of the starter (if you don’t want to throw it away, keep it refrigerated. You can use the discards to make waffles, pancakes, and sweet and savory cookies, among other delicacies). Feed it by adding equal amounts of flour and water.
You may need to add more water and flour when discarding and feeding. For example, for each part of the starter, add two parts of water and two of flour (ratio 1:2:2). Stir well. The idea is to have a thick and consistent mixture. Clean the sides of the jar and lid. With a marker or a rubber band, indicate the amount of starter in the jar. Let it rest in a warm place for 24 hours.
Eighth day
If your starter has not yet tripled in size, discard half of it again (save the discards for later use), feed in a ratio of 1:2:2, and let it rest for another 24 hours. Although your starter should be ready now, do not worry if it is still missing. Continue until it triples in size a few hours after being fed.
Ninth day
If you still don’t have an active, bubbly starter by the ninth day, discard the jar’s contents. Mix what’s left on the sides and bottom of the jar with water and flour. Try a 1:3:3 ratio for best results: one part starter, three parts water, and three parts flour. Mix very well, clean the jar’s sides, cover it, and wait until it has doubled or even tripled in size within the next 4 to 8 hours.
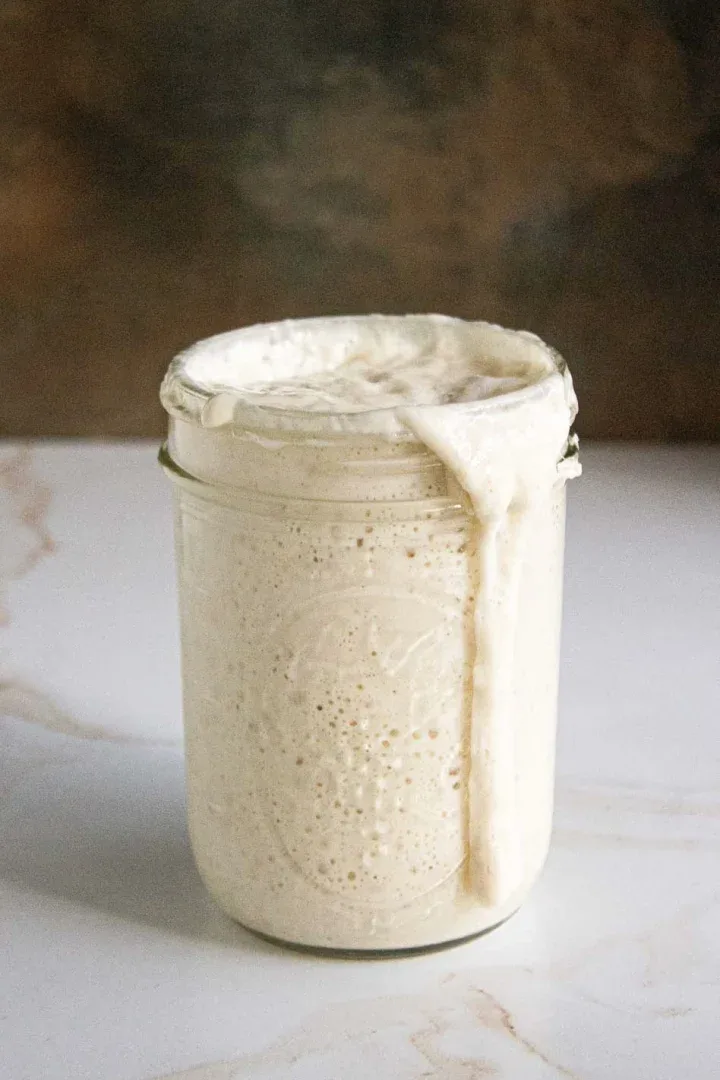
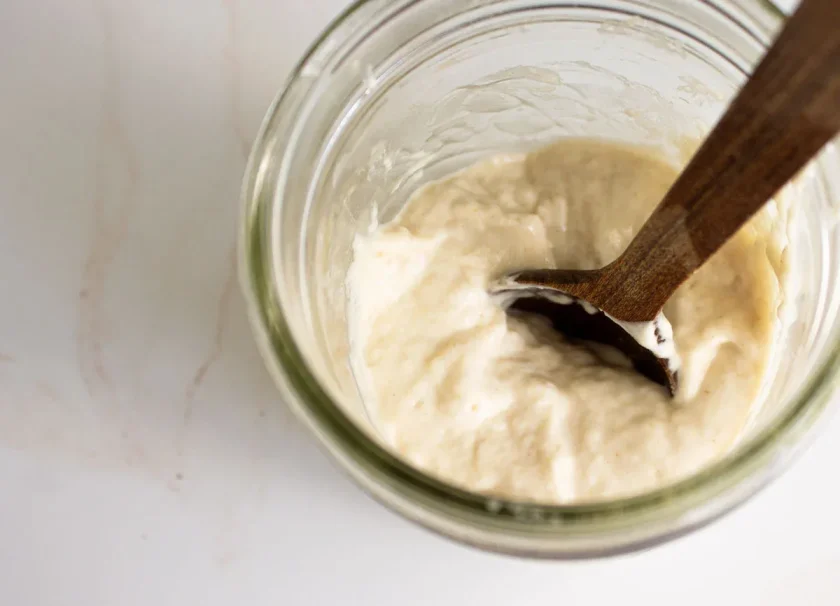
How do I know when my sourdough is ready?
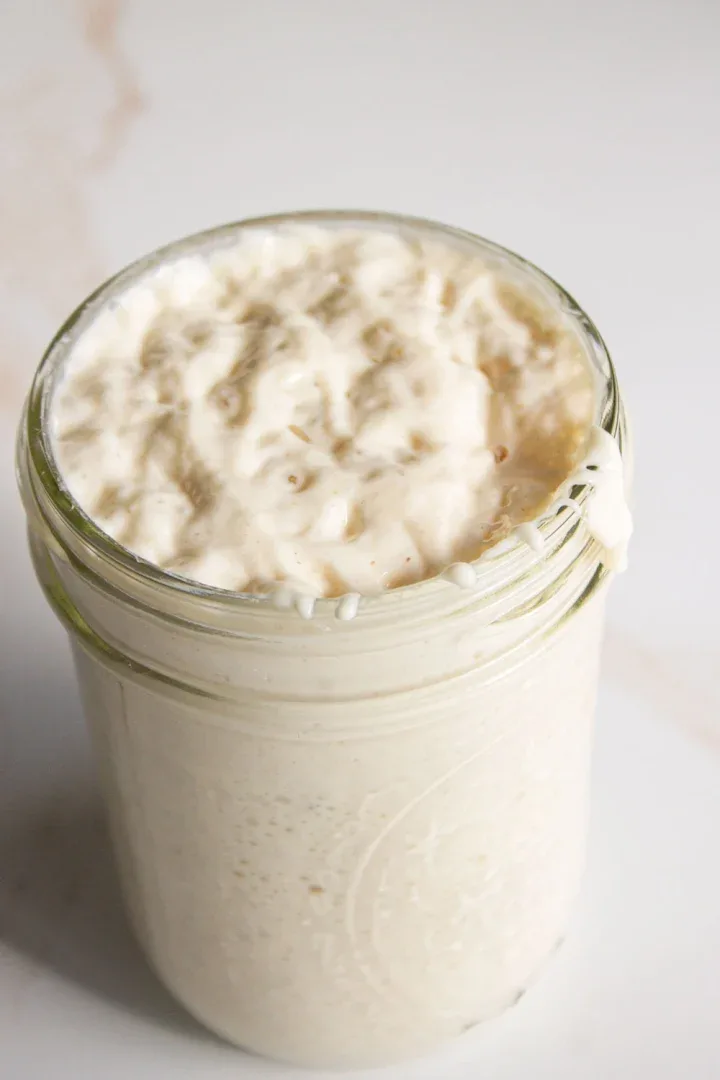
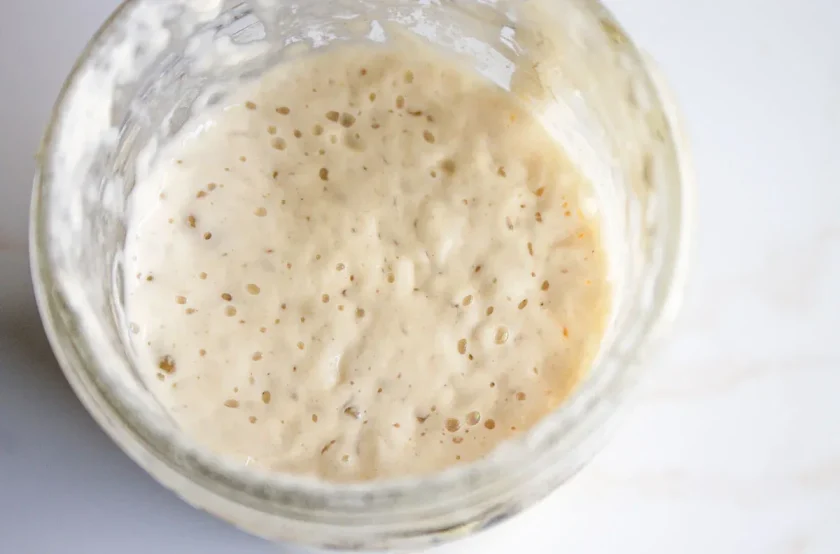
Your starter will be ready to make bread when it shows clear signs of activity, including:
- It doubles or triples its volume 4-8 hours after feeding.
- It has a pleasant, slightly acidic aroma reminiscent of yogurt.
- Bubbles consistently appear on the surface and sides of the jar.
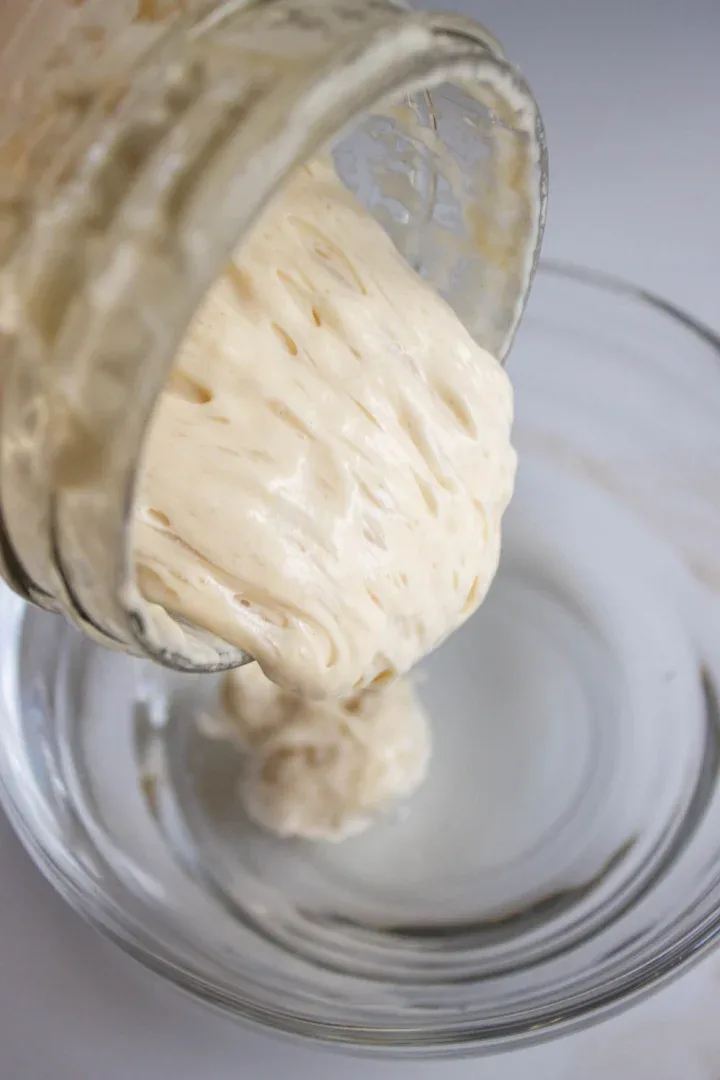
- It has a fluffy and airy texture.
- It passes the float test. If it floats in water (you can do this test in a cup of water to which you add a tablespoon of dough).
How do I maintain my sourdough?
Once your starter is established, you can maintain it with regular feedings so that you can have sourdough ready when you need it:
- For frequent use: Feed every 24 hours at room temperature.
- For occasional use: Store in the refrigerator and feed once a week.
- The proportion I feed in both cases is 1:2:2.
How do I preserve sourdough?
Your active sourdough starter can last for weeks between feedings in the fridge, although I suggest feeding it once a week.
If you see a grayish or brownish liquid forming on the surface, don’t panic or throw it away. This liquid is what is known as hooch, and it’s normal: discard it and feed your starter normally,
If you have too much sourdough starter, you can dry it and store it in flakes for months. To do this, spread a thin layer on a tray covered with parchment paper and let it dry completely at room temperature. Then, break it, ground it, and store it in a jar with a lid, and that’s it. When using it, hydrate the flakes with water and then feed as usual.
No Fail Sourdough Starter Recipe with Wheat Flour
The sourdough starter recipe follows. I have used this sourdough to bake my bread since October 2024. I hope you make it and tell me how it goes.
Thanks for subscribing to my YouTube channel and visiting my Amazon shop.
No Fail Sourdough Starter from Scratch
Ingredients
- Bread flour
- Filtered water at room temperature
Instructions
- Day 1: mix one tablespoon of flour in a clean glass jar with one tablespoon of filtered or bottled water. Mix well with a fork until there is no loose flour and everything is well integrated. Using a silicone spatula, clean the sides of the jar. Cover loosely and place in a warm spot in your kitchen (ideally between 75-79°F or 24-26°C).
- Day 2: add a tablespoon of flour and another of water. Mix well until everything is integrated. Wipe the sides of the jar, cover it, and return it to the same warm place.
- Days 3 to 6: repeat the feeding process every 24 hours, adding flour and water. The dough can develop various aromas (acetic acid, alcohol, acetone, almonds). This is entirely normal.
- Day 7: Discard half of the mixture (you can store it refrigerated and covered for another use). Feed two tablespoons of flour and two tablespoons of water. Mix well until you obtain a consistent dough. Mark the starter level in the jar using a marker or rubber band. Cover and let rest in a warm place for 24 hours.
- Day 8: If the dough has not tripled in size, discard half and feed again in the same proportions as the previous day.
- Day 9: If you don’t have an active, bubbly starter, discard almost all the contents, leaving only what’s left on the sides and bottom of the jar. Feed with 3 tablespoons of flour and 3 of water. Stir well, cover, and wait a few hours for the magic to happen.
Notes
- It triples in size in 4-8 hours after feeding.
- It has a pleasant fermented aroma.
- It shows abundant bubbles on the surface.
Did you make this recipe?
Tag @enrilemoine on Instagram and hashtag it #byenrilemoine. Thank you!
- Mashed Potatoes with Leeks and Swiss Chard Recipe - October 15, 2025
- 35 Foolproof and Fuss-Free Authentic Venezuelan Recipes - October 2, 2025
- Venezuelan Pineapple Upside-Down Cake Recipe - September 23, 2025